Currency
Have a question? Speak to one of our experts on 0800 0886099
Blog
-
28 AprRead more »
Looking for a reliable way to power multiple tools on a construction site? We've been examining the Defender Splitter Box, and it appears to be a solid option for those working with 110V equipment.
This yellow steel unit lets you run four 16A tools at once, which is handy when you need to keep several pieces of equipment going. The tough metal case is built to stay upright even on rough ground, and there's a carry handle for moving it around the site.
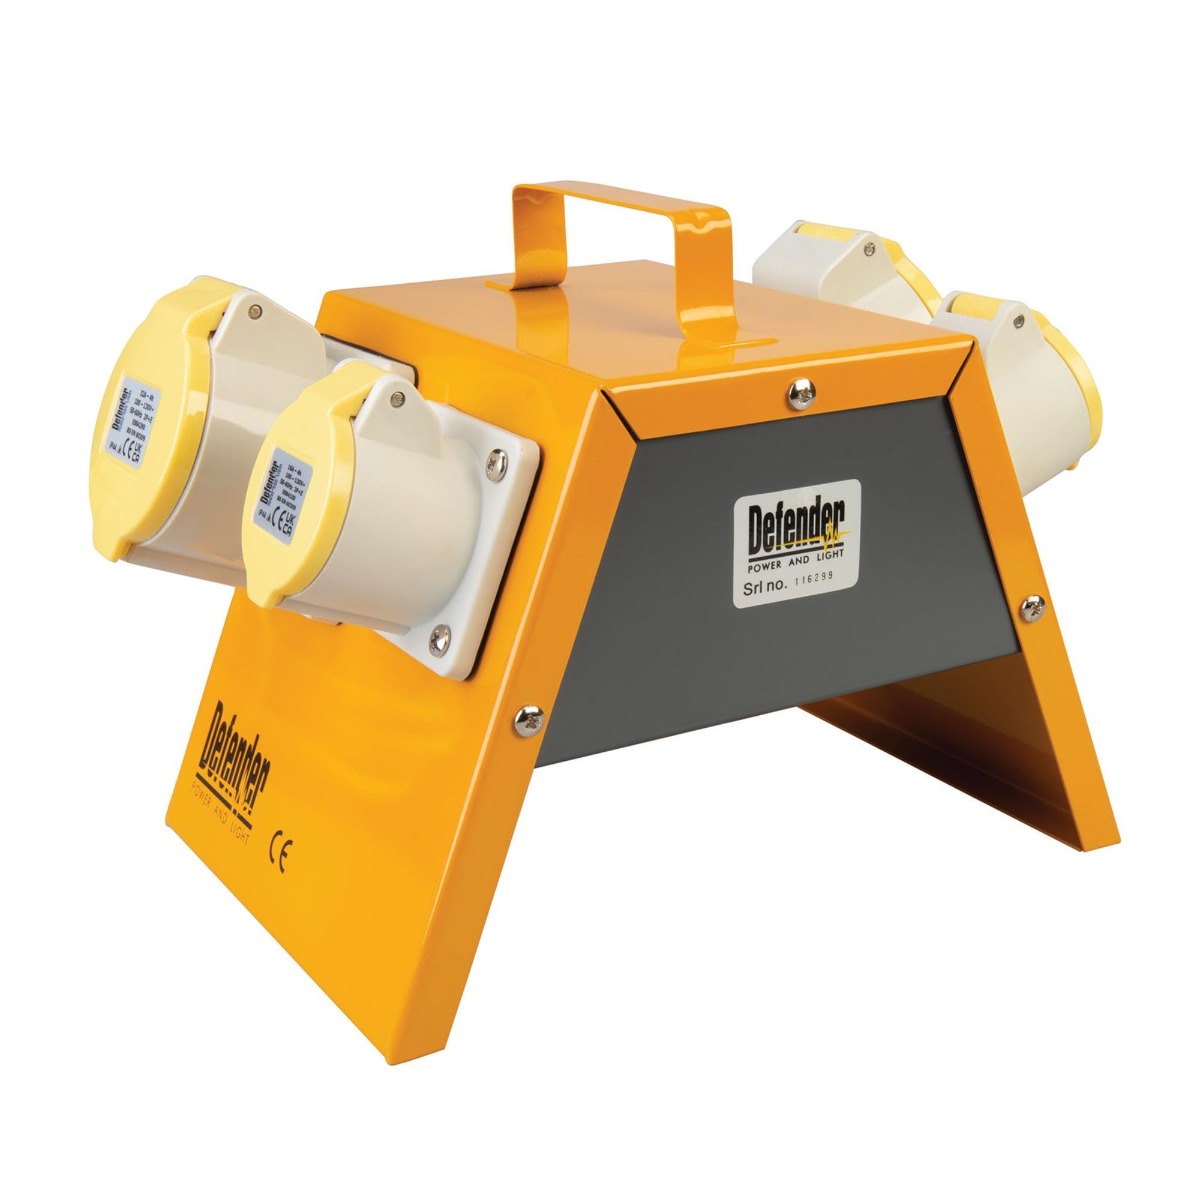
The box has an IP44 rating, which means it offers protection against dust in challenging work environments. It comes ready to use with a 16A
-
28 AprRead more »
Looking for a reliable power solution for your construction site or workshop? We've been examining the Faithfull Site Transformer, and it appears to be a solid choice for powering industrial tools safely and efficiently.
This transformer converts 240V mains power into two 110V outputs, which is the standard voltage for many professional power tools in the UK. The unit handles up to 3.3 kVA intermittently or 1.65 kVA continuously, giving you flexibility depending on your needs.
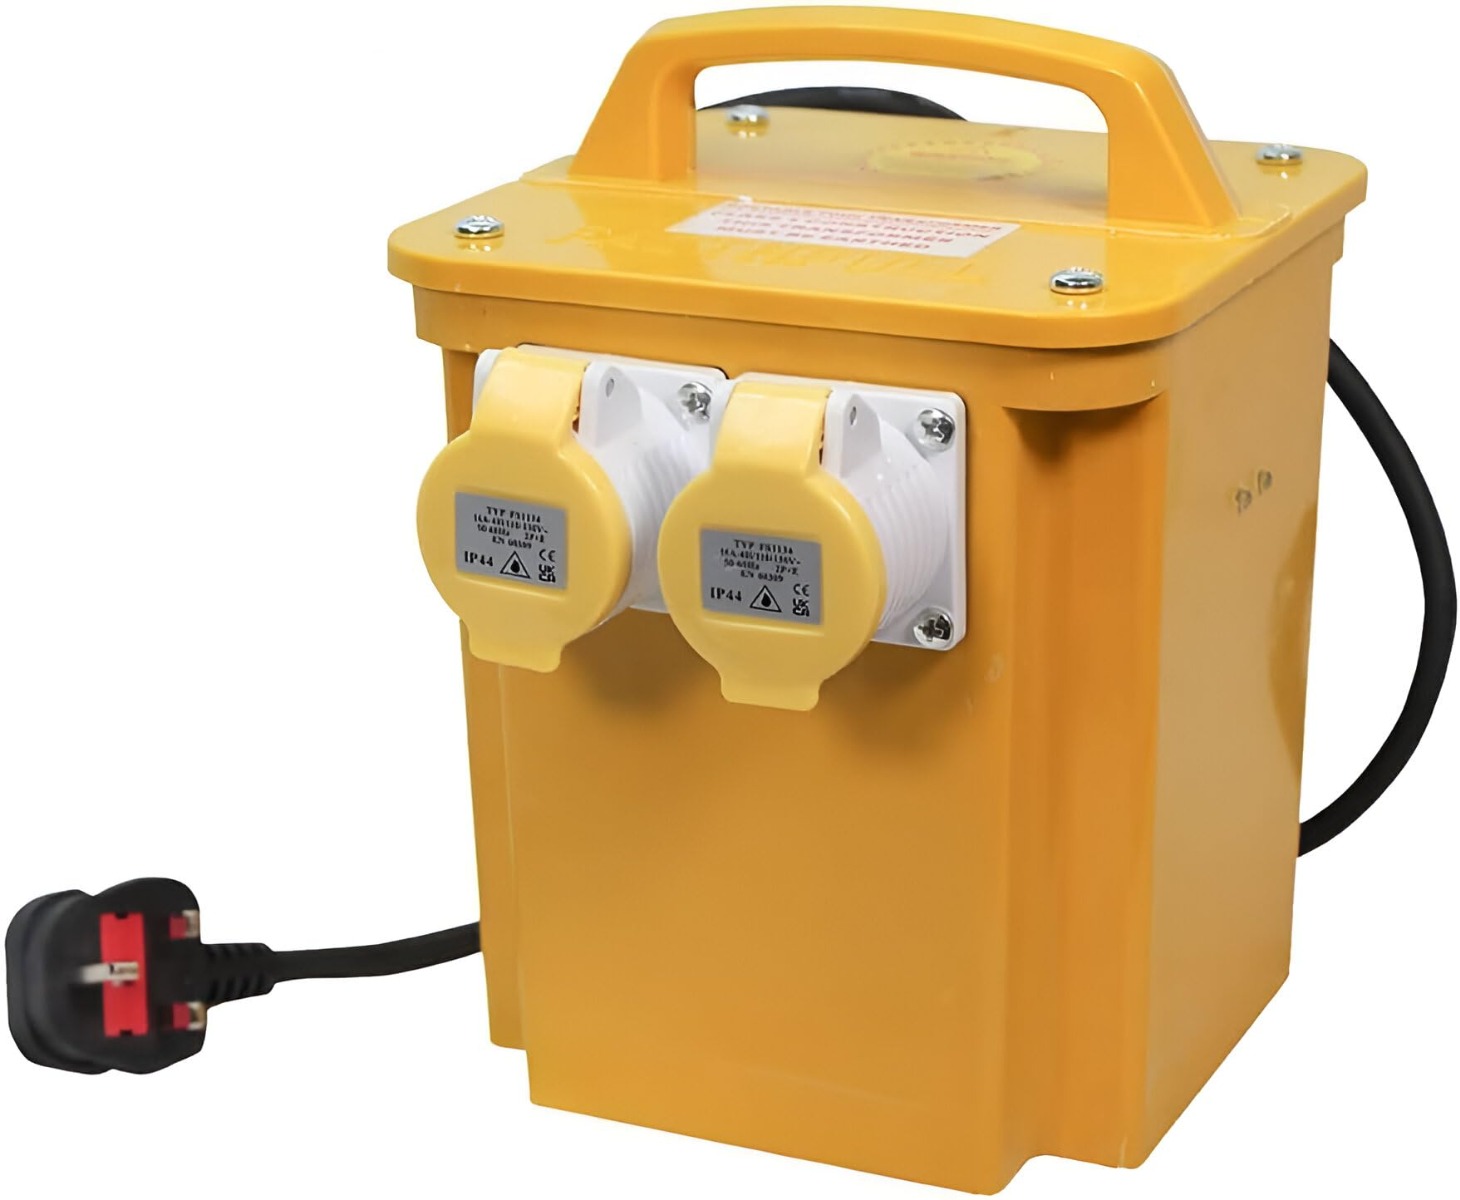
The IP44-rated waterproof case stands out as a practical feature for outdoor work. Customers appreciate the thermal overload protection,
-
27 MarRead more »
Looking for a reliable sealant that works both inside and outside your home? We've been examining the Everbuild General Purpose Silicone, and it appears to be a solid choice for various sealing jobs around the house.
This waterproof silicone sealant is designed to handle tasks like sealing showers, doors, and other areas where you need to keep water out.
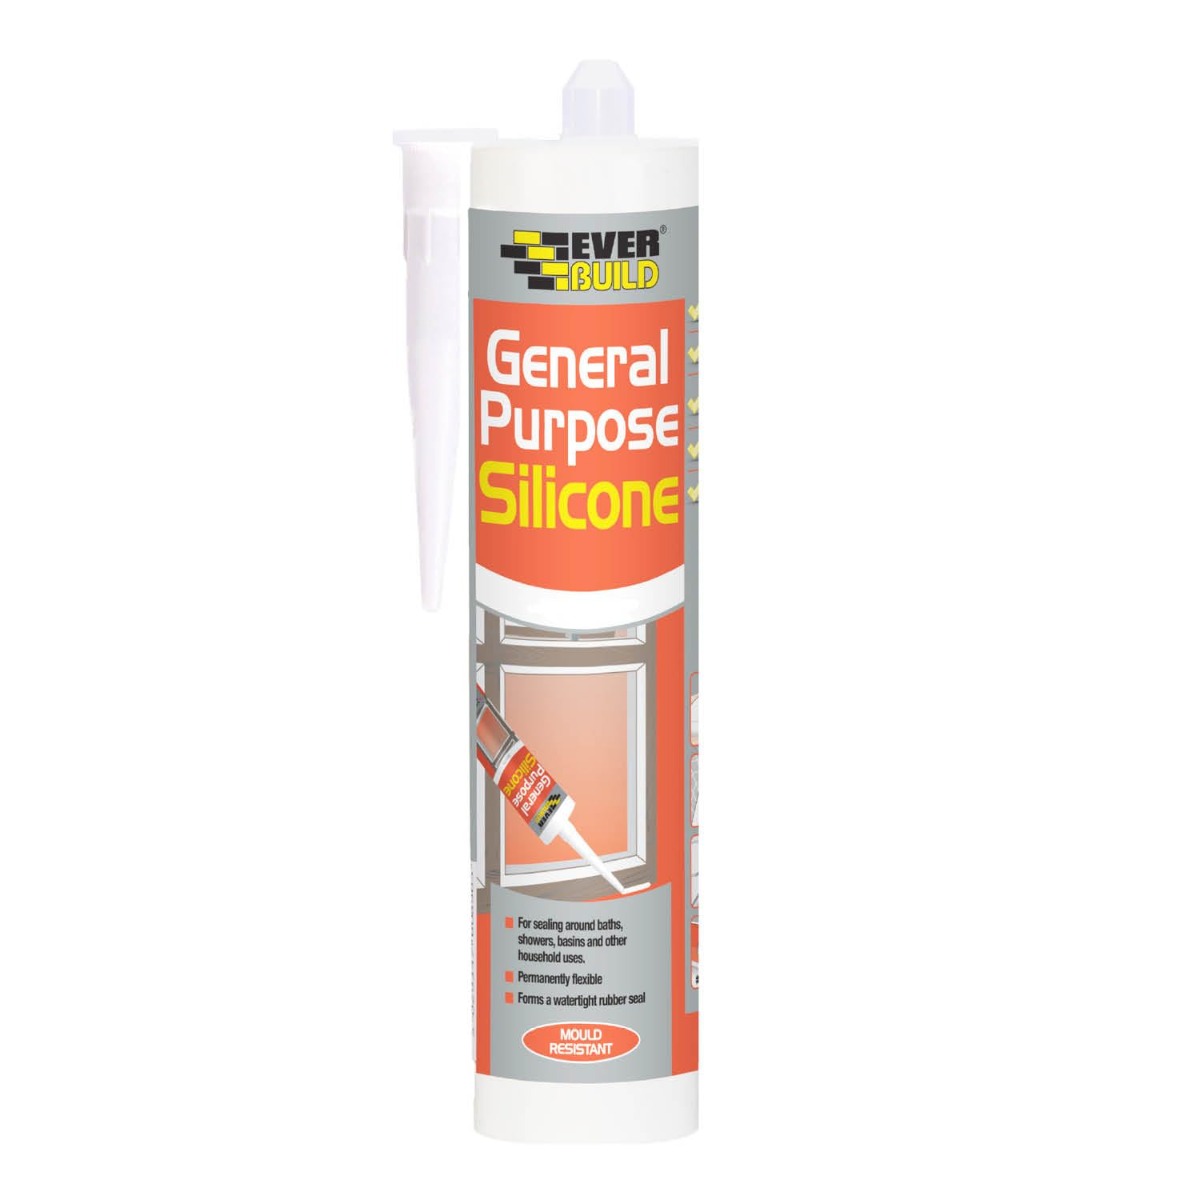
Based on feedback from nearly 8,000 buyers, this product scores well for ease of use. Many people mention that it applies smoothly from a standard sealant gun and creates a neat finish. The adhesion seems strong once it sets, and it does the job
-
27 MarRead more »
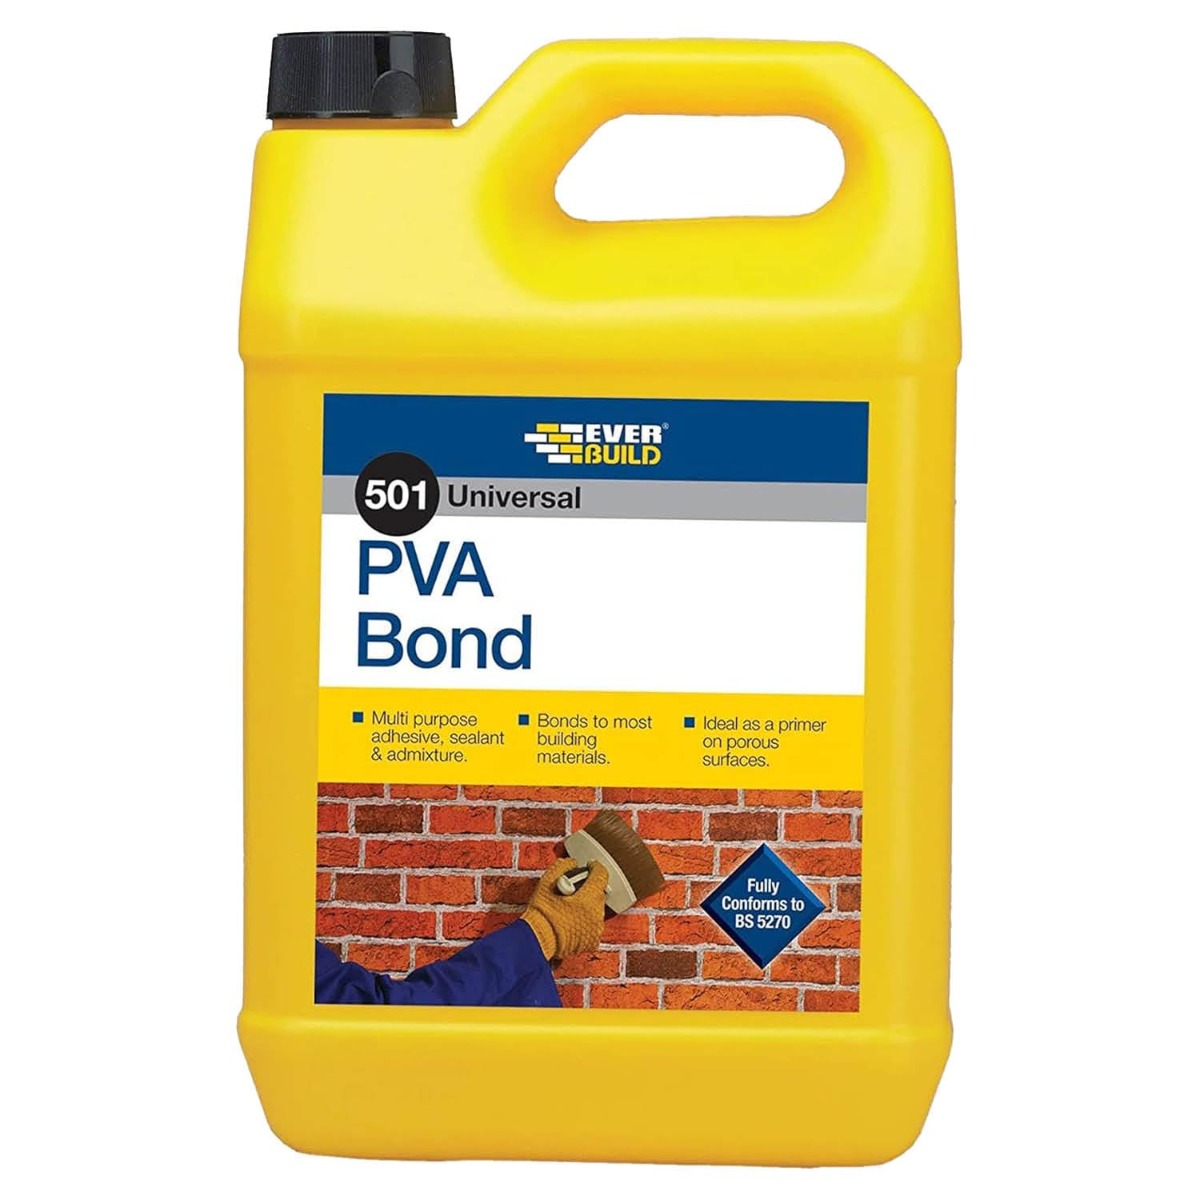
Looking for a reliable bonding agent for your building projects? We've been examining the Everbuild 501 Universal PVA Bond, a 5-litre bottle designed specifically for the construction industry. This medium viscosity adhesive functions as a primer, sealer, and bonding agent, making it versatile for interior work on materials such as wood and concrete.
The product has earned strong marks from buyers, with many praising its effectiveness at priming walls before painting or wallpapering. People particularly appreciate the value, as the 5-litre size is more cost-effective than smaller bottles. Some users have found it helpful for sealing old plaster and preparing surfaces in older homes with challenging walls.
-
17 FebRead more »
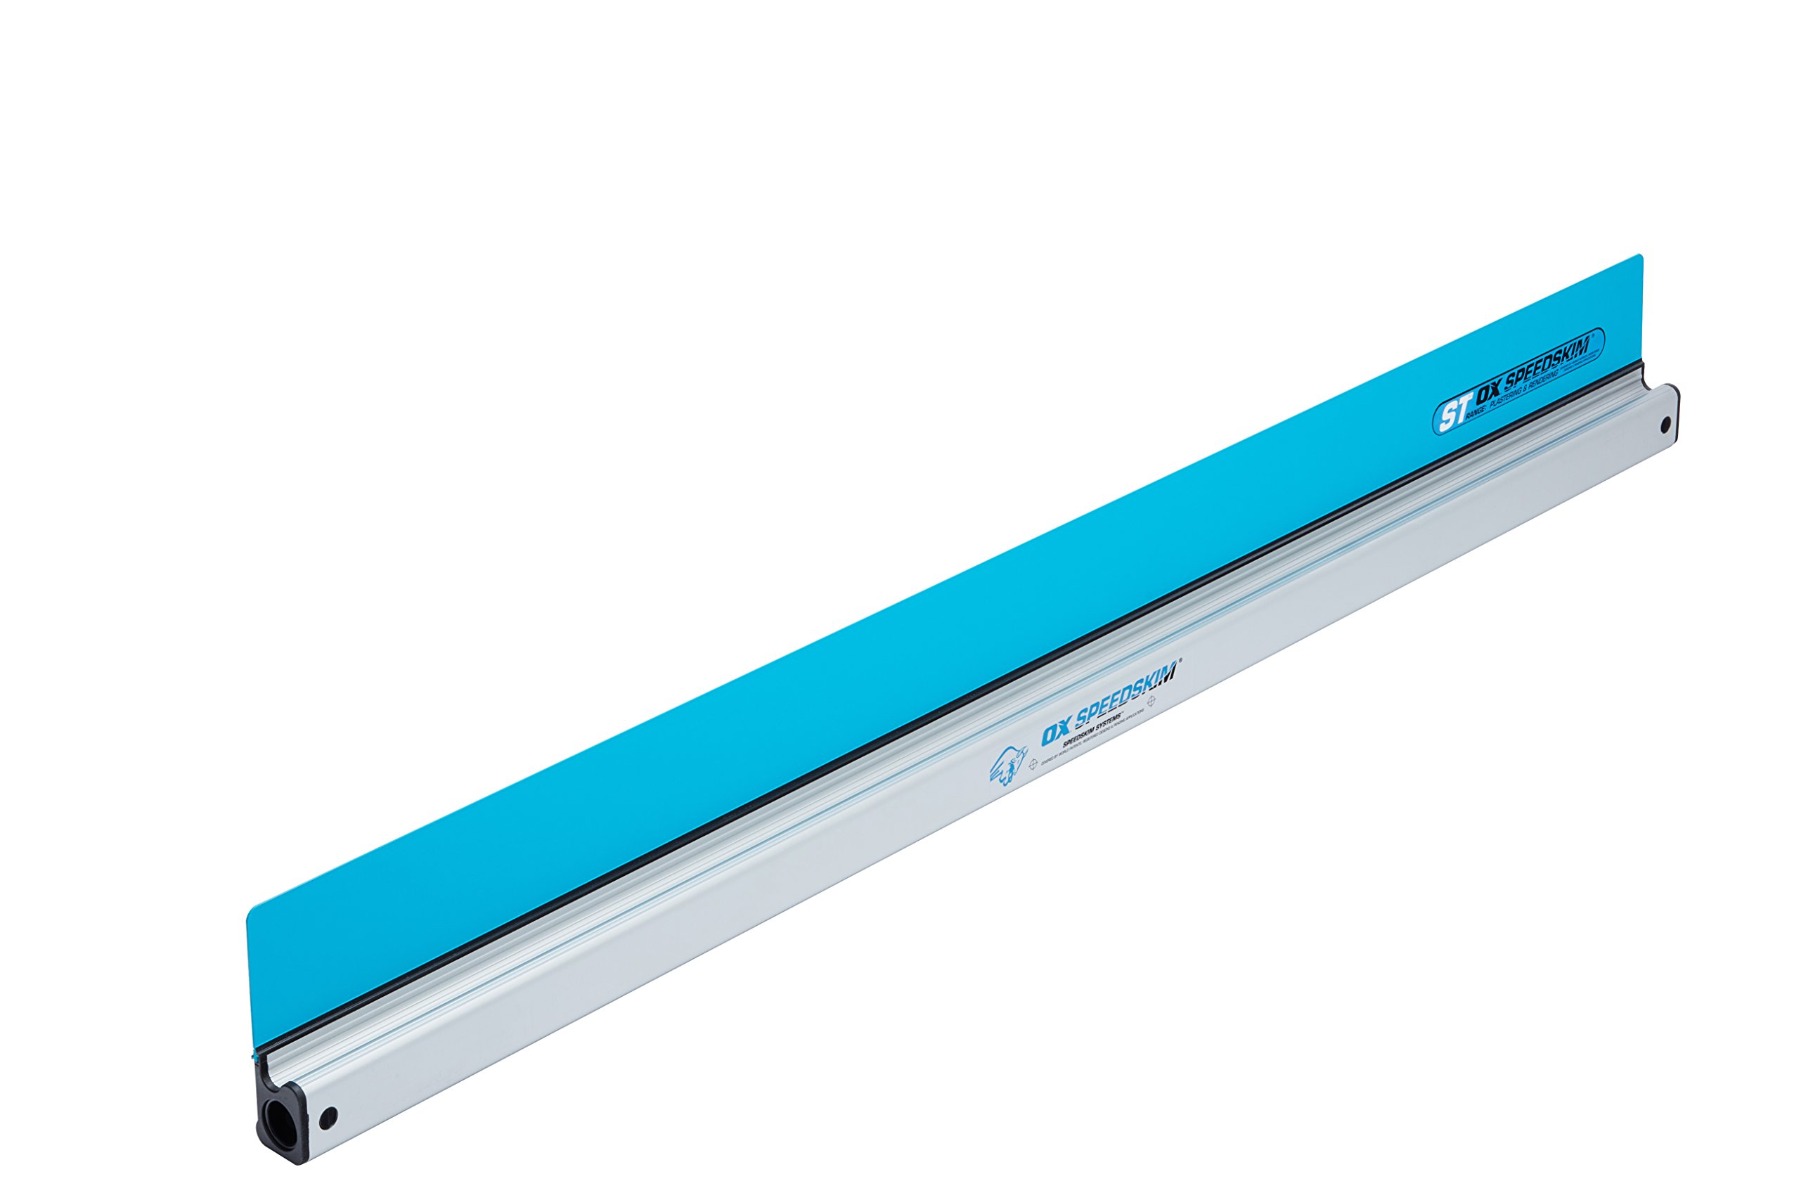
Trying to get a smoother finish on your plastering jobs, but not keen on spending years perfecting your trowel technique? We’ve taken a good look at the OX Speedskim Semi Flexible Rule, and honestly, it’s a pretty smart choice for both DIY folks and seasoned pros.
This 1200mm tool is built with a nylon blade and an aluminium handle. It weighs about 1.5 kg, and the semi-flexible blade helps you spread plaster more evenly over surfaces—handy if you’re after a cleaner finish.
-
17 FebRead more »
Working on drywall corners is always a bit fiddly, but the right tool really does make a difference. We checked out the OX Pro Internal Corner Trowel, and honestly, it looks like a solid pick for anyone handling interior corners.
This trowel is 102 x 127mm, with a stainless steel blade and a rubber grip that feels good in hand. The design is pretty no-nonsense, aimed at helping you get those smooth finishes in tight spots where normal trowels just don't cut it.
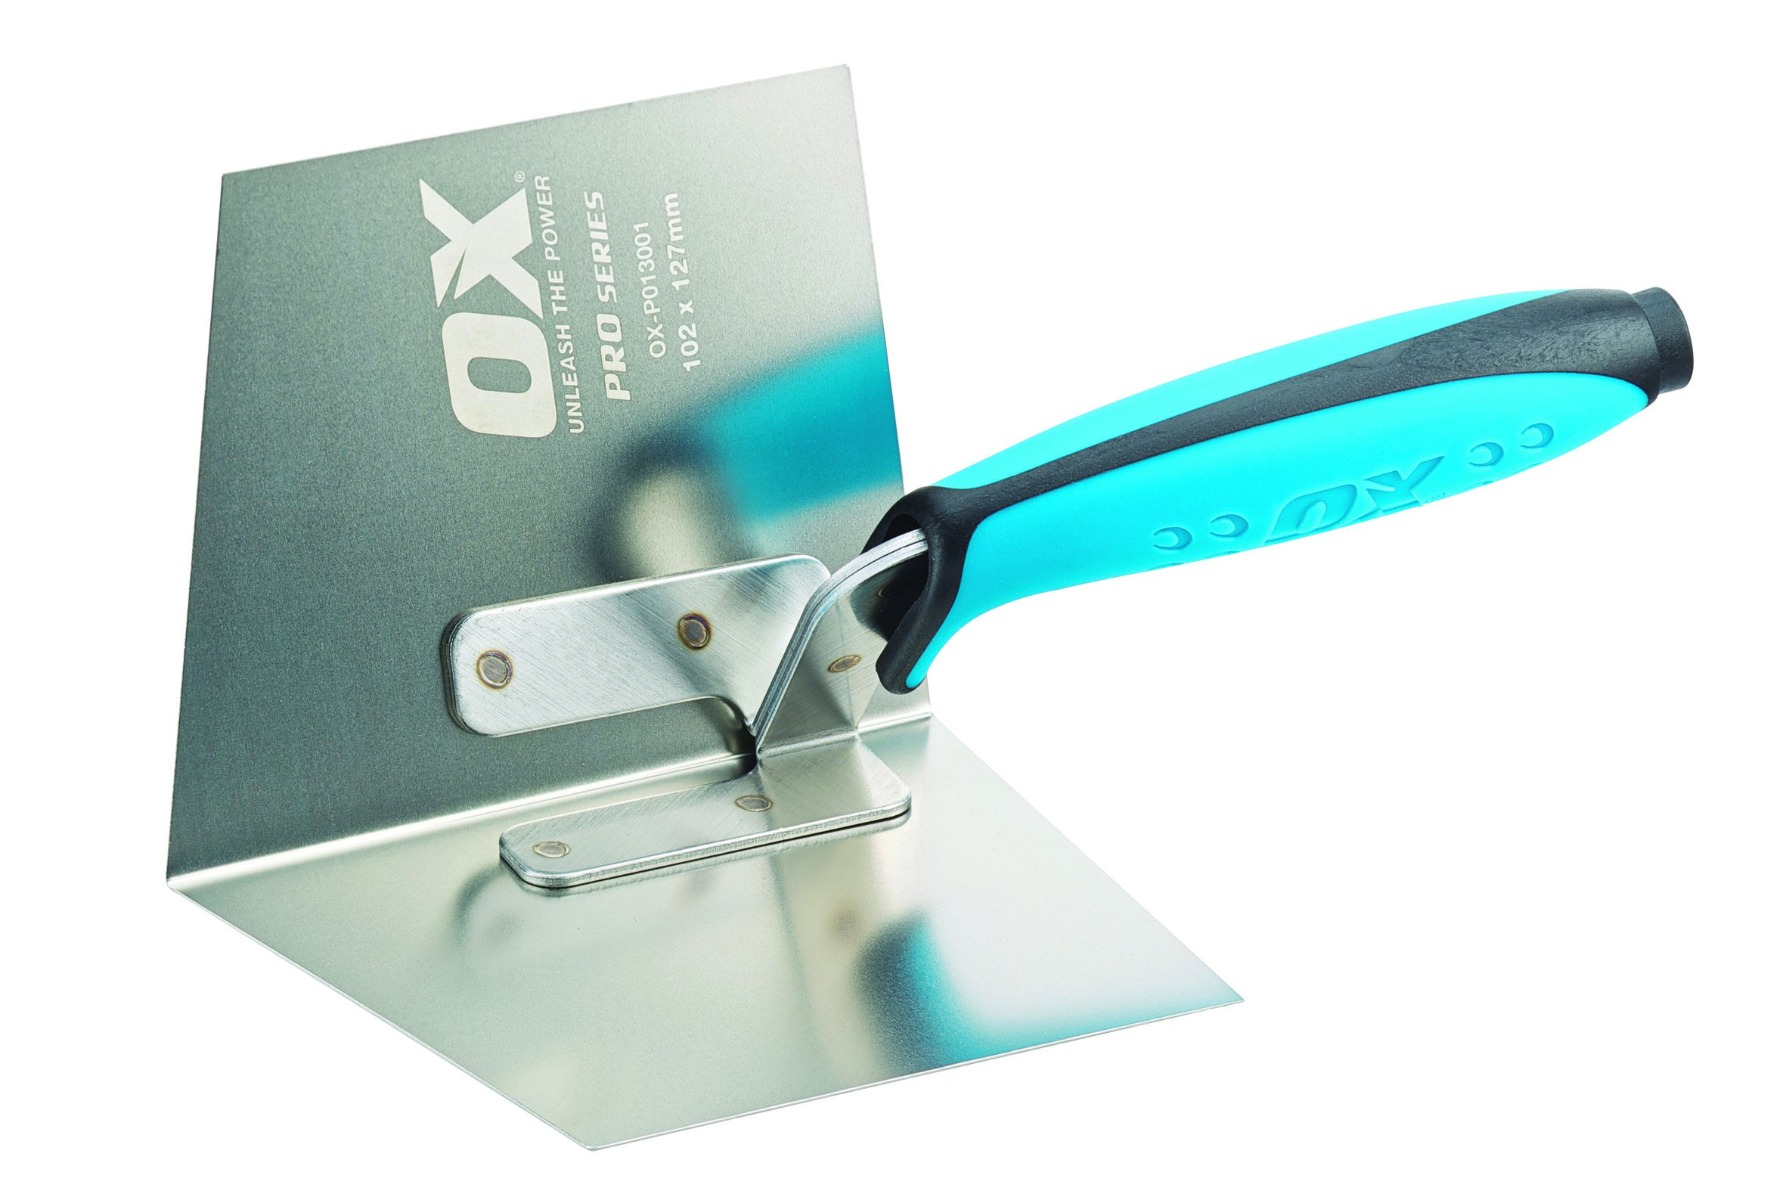
Most folks who've tried it say it gets clean angles and tidy corner joints. There’s a bit of a consensus that OX Tools are a pro favorite, which s
-
27 JanRead more »
If you’re on the hunt for high-visibility work trousers that can actually handle rough job sites, we’ve taken a close look at the Portwest T501 PW3 trousers. These orange and black trousers offer a mix of safety essentials and handy design features that most construction workers and tradespeople will appreciate.
The trousers use a polycotton fabric with a stain-resistant finish, and you get 12 pockets—holster pockets, a thigh pocket for your phone or tools, and more. Reflective tape helps with visibility if you’re working early mornings or evenings, and there’s even a free set of kneepads thrown in.

Buyers tend to mention these trousers are comfortable and feel well-made. The reinforced panels an
-
27 JanRead more »
On the hunt for a high-visibility work jacket that actually stands up to cold and wet weather? We've been taking a close look at the Portwest PW3 Hi-Vis Winter Jacket, and honestly, it seems like a reliable pick for anyone working outdoors who needs serious protection.
This jacket uses 300D Oxford polyester with a PU coating for waterproofing. The Insulatex heat-reflective lining is meant to keep warmth close to your body, which—if it works as advertised—should help you out in freezing temperatures. They claim it’s rated for down to -40°C, which is pretty remarkable for a work jacket.

-
22 DecRead more »
This 13-inch aluminium hawk from OX Tools for plastering, and honestly, it's a solid option for both DIYers and pros. The tempered aluminium is light in your hand but doesn't feel flimsy—pretty important if you’re holding mortar for hours at a time.
The soft grip handle is a real plus, especially during longer sessions. It’s comfortable and doesn’t leave your hand aching, and those rounded corners on the blade help keep mortar in place instead of sliding off at the worst moment.

The 330mm x 330mm blade gives you enough space for a decent load of mortar without being awkward. Cleanup is easy, and the handle comes off if
-
22 DecRead more »
If you’re working in plastering, tiling, or general construction, you already know just how much difference a proper wash kit can make. We recently gave the OX Trade Wash Kit a shot, and honestly, it’s a practical option for anyone who wants a complete bucket setup without the hassle. This 24-litre kit comes fully loaded, so you’re not scrambling for separate parts when you just want to get going.

The bucket’s made from plastic and has a rounded shape that makes mixing less of a chore. At 24 litres, you’ve got enough space for most jobs, but it’s not so big you can’t lug it around. The handle’s plastic but feels sturdy enough for regular use—nothing fancy, but it gets the j