Currency
Have a question? Speak to one of our experts on 0800 0886099
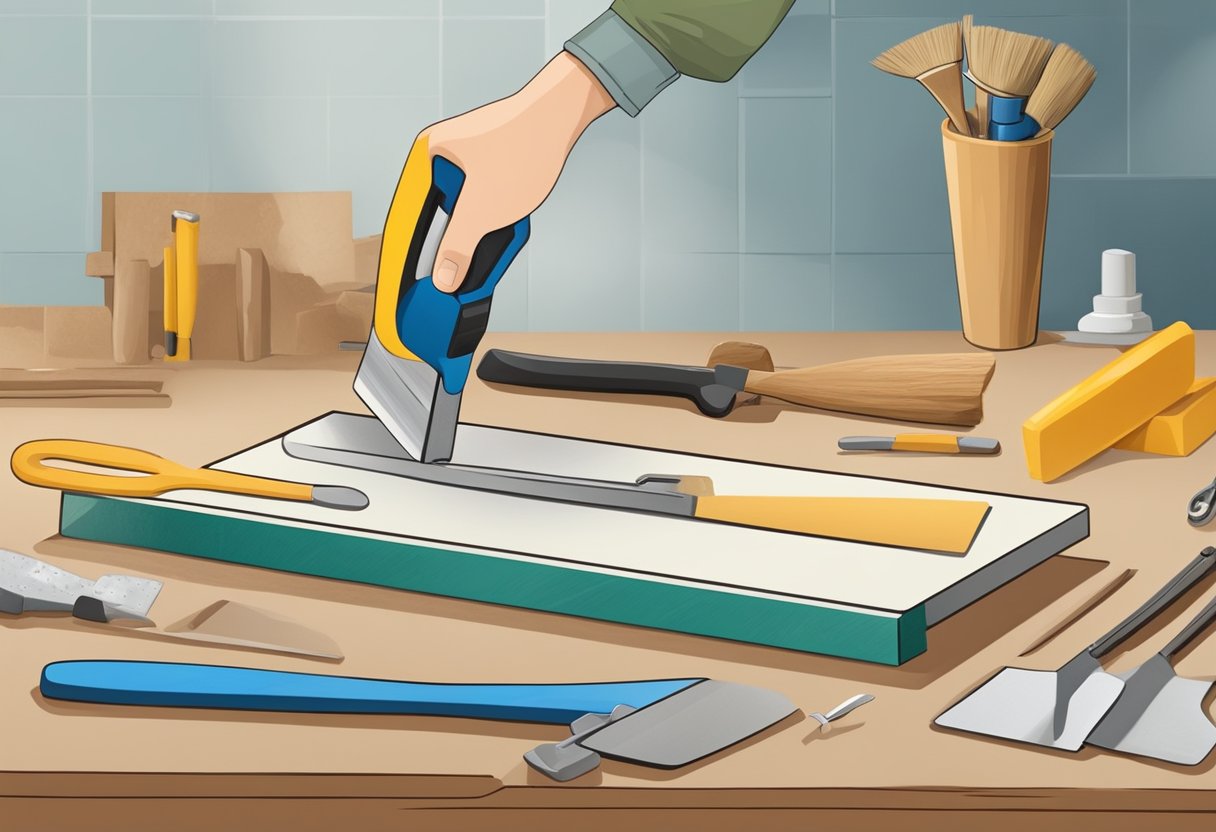
Choosing the Right Type of Plastering Trowel for Your Project
15
Apr
When it comes to plastering, choosing the right type of trowel for your project is crucial. The plastering trowel is the primary tool used to apply and shape plaster, so selecting the right one can make a significant difference in the outcome of your project. With so many different types of plastering trowels available, it can be challenging to know which one to choose.
The first thing to consider when selecting a plastering trowel is the size and shape of the blade. The size of the blade will depend on the size of the area you are plastering. A larger blade is ideal for larger areas, while a smaller blade is better suited for smaller, more intricate areas. The shape of the blade can also vary, with some trowels having a pointed end for precise work, while others have a rounded end for a smoother finish. Understanding the size and shape of the blade will help you to choose the right trowel for your project.
Another factor to consider when selecting a plastering trowel is the type of handle. Handles can be made from a variety of materials, including wood, plastic, and rubber. The handle should be comfortable to hold and provide a good grip to prevent slipping. A comfortable handle can make a significant difference in the ease and accuracy of your plastering work. By taking the time to choose the right plastering trowel, you can ensure that your project is completed to a high standard.
Understanding Plastering Essentials
Types of Plaster
Before choosing the right type of plastering trowel, it is important to understand the different types of plaster available. Plaster is a versatile material that can be used for a range of applications, from creating smooth walls and ceilings to repairing damaged surfaces.
- Gypsum plaster: This is the most commonly used type of plaster and is made from gypsum powder and water. It is easy to work with and dries quickly, making it ideal for small DIY projects and repairs.
- Lime plaster: This is a traditional type of plaster that has been used for centuries. It is made from lime, sand, and water and is known for its durability and breathability. Lime plaster is ideal for older buildings and historic renovations.
- Cement plaster: This type of plaster is made from cement, sand, and water. It is strong and durable, making it ideal for outdoor applications such as rendering and stucco.
- Clay plaster: This is a natural plaster made from clay, sand, and straw. It is eco-friendly, breathable, and ideal for creating a rustic look.
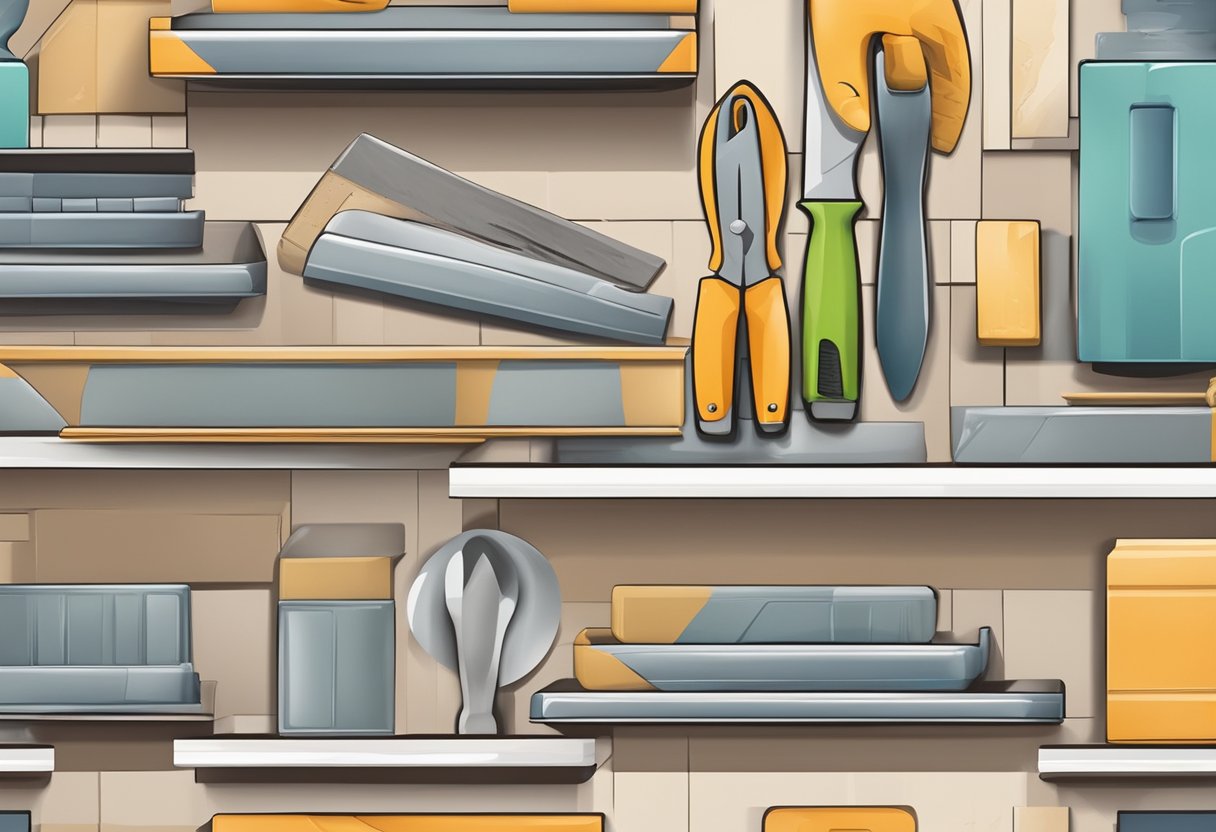
Plastering Tools and Equipment
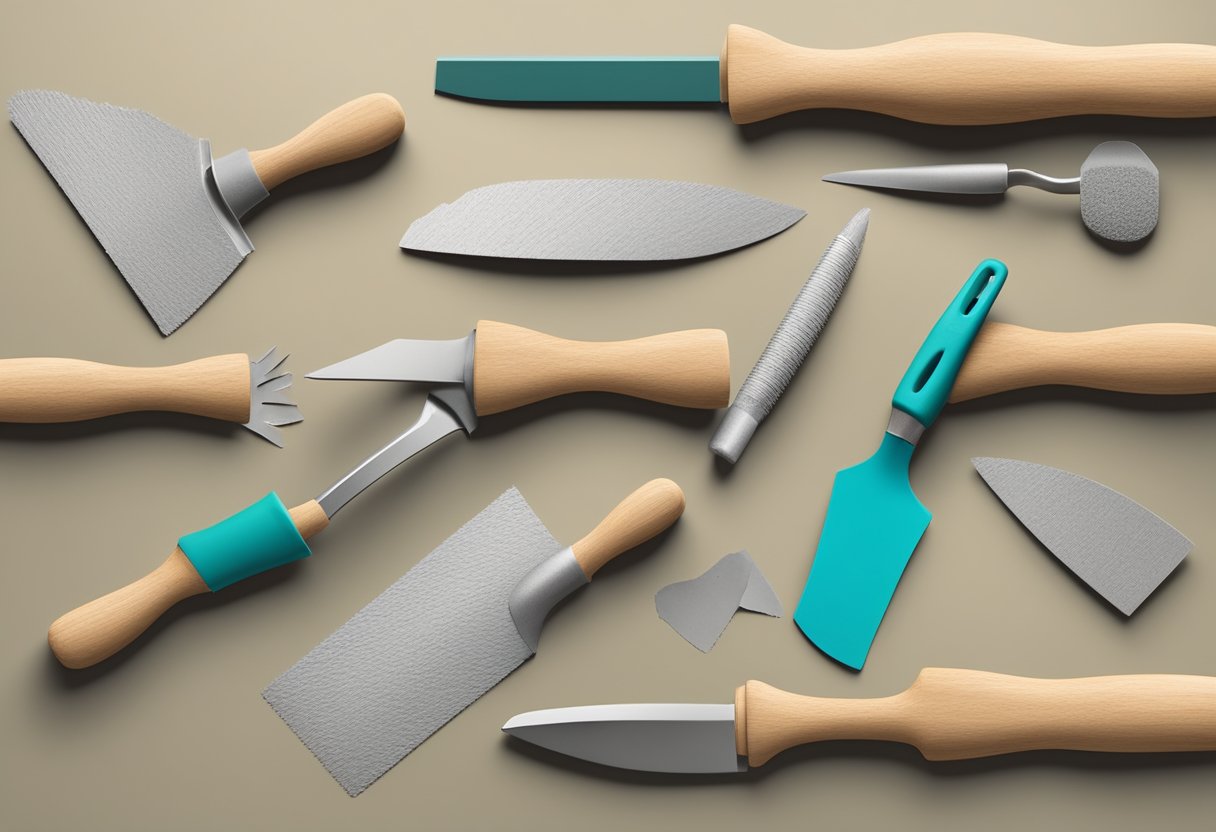
In addition to choosing the right type of plaster, it is important to have the right tools and equipment for the job. Here are some essential plastering tools:
- Plastering trowel: This is the most important tool for any plastering job. Trowels come in different shapes and sizes, and it is important to choose the right one for the job. A wide trowel is ideal for applying plaster to large areas, while a narrow trowel is better for corners and edges.
- Plastering hawk: This is a flat board with a handle that is used to hold plaster. It is important to choose a hawk that is the right size for the job.
- Plastering float: This is a flat tool that is used to smooth and level the surface of the plaster. Floats come in different materials, such as wood, plastic, and metal.
- Plastering sponge: This is used to smooth the surface of the plaster and remove any imperfections. Sponges come in different textures, and it is important to choose the right one for the job.
By understanding the different types of plaster and having the right tools and equipment, anyone can achieve a professional-looking plastering job.
Selecting the Right Plastering Trowel
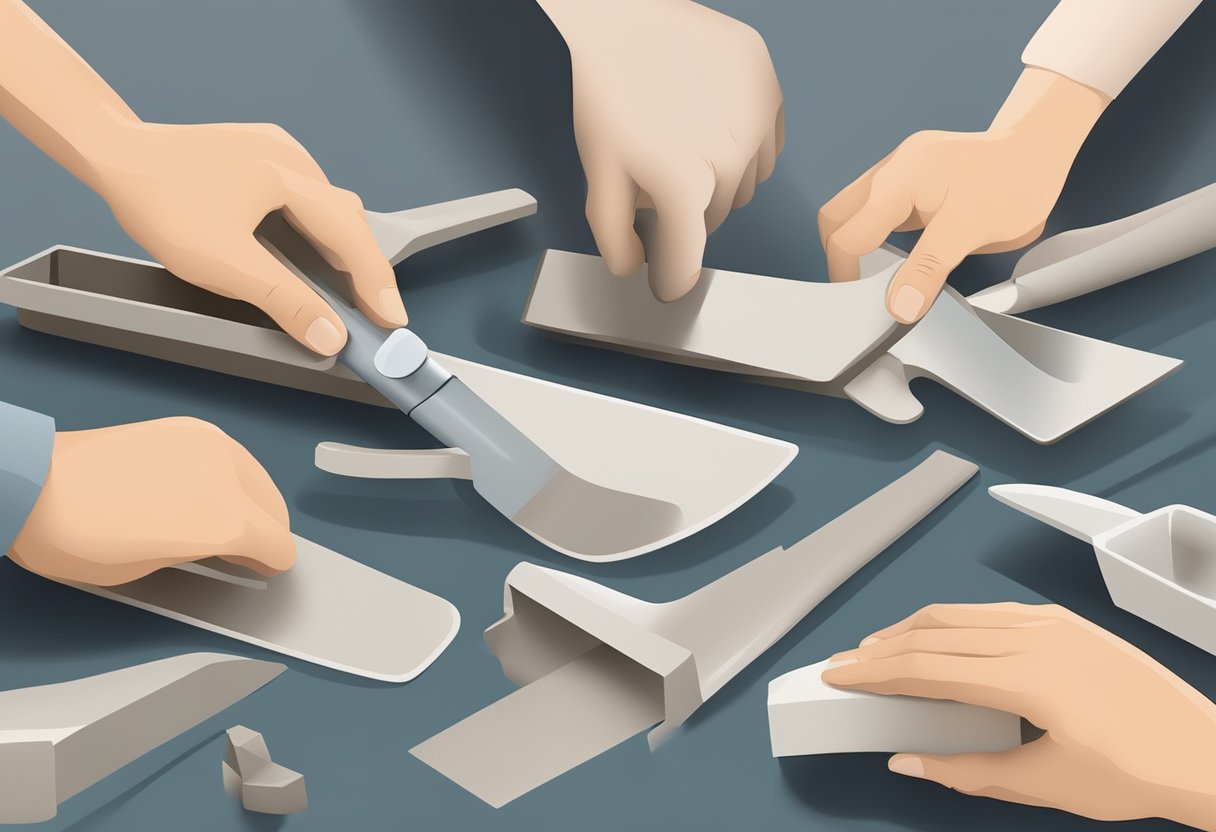
When it comes to plastering, choosing the right trowel is crucial for achieving a smooth and even finish. Here are some key factors to consider when selecting the right plastering trowel for your project.
Trowel Materials and Composition
Plastering trowels are typically made from either stainless steel or carbon steel. Stainless steel trowels are more expensive but are more durable and resistant to rust and corrosion. Carbon steel trowels are cheaper but require more maintenance to prevent rust.
The composition of the trowel blade is also important. Some trowels have a flexible blade, while others have a stiff blade. A flexible blade is better suited for applying thin coats of plaster, while a stiff blade is better for applying thicker coats.
Trowel Size and Shape
The size and shape of the trowel will depend on the size of the project and the type of plaster being used. For smaller projects, a 7-inch trowel is usually sufficient, while larger projects may require a 12-inch trowel.
The shape of the trowel is also important. A rectangular trowel is best for applying plaster to large flat surfaces, while a pointed trowel is better for getting into tight corners and edges.
Handle Ergonomics and Grip
The handle of the trowel should be comfortable and easy to grip. Look for a handle that is ergonomically designed and has a non-slip grip. A comfortable handle will reduce fatigue and make it easier to apply plaster for longer periods of time.
In summary, when selecting the right plastering trowel for your project, consider the materials and composition of the trowel blade, the size and shape of the trowel, and the ergonomics and grip of the handle. By taking these factors into account, you can ensure that you have the right tool for the job and achieve a professional-looking finish.
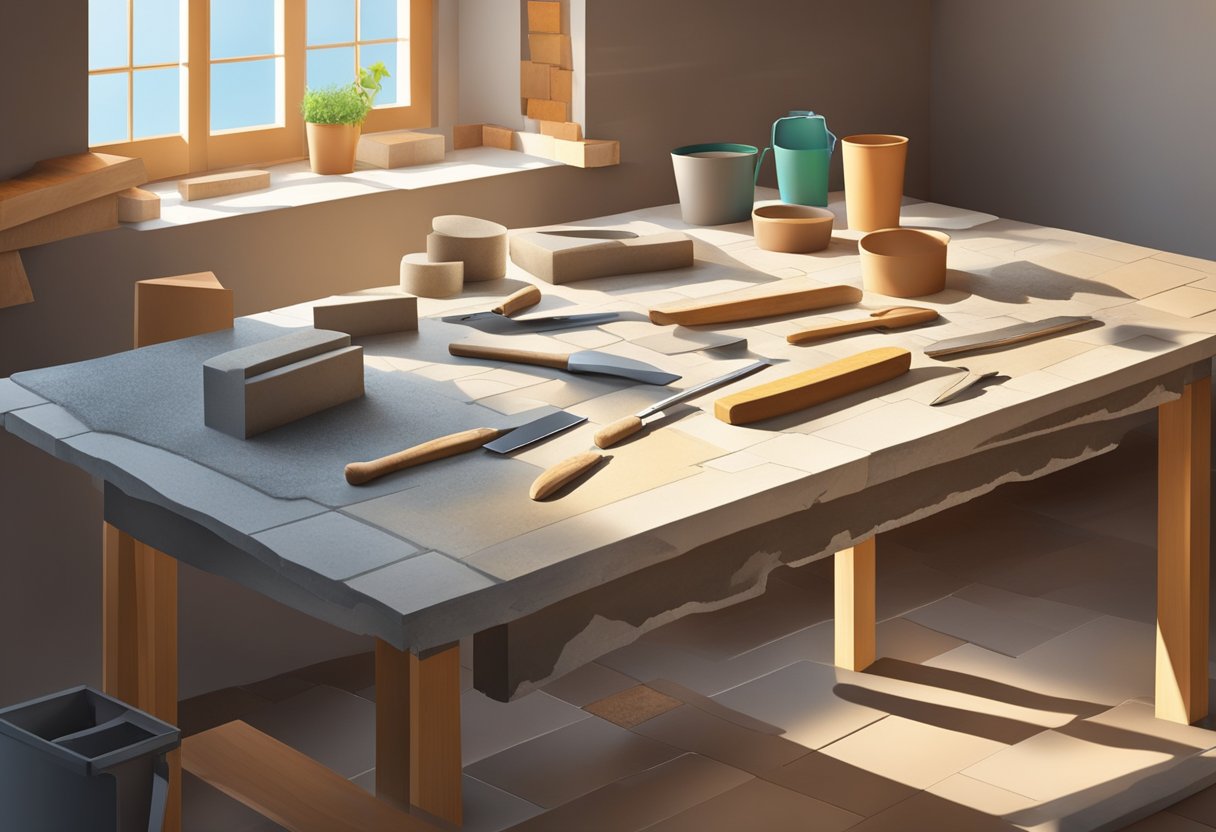
Preparation for Plastering
Before starting the plastering work, it is essential to prepare the surface properly to achieve a smooth and even finish. This section covers the two primary aspects of surface preparation and mixing plaster.
Surface Preparation
The first step in surface preparation is to ensure that the surface is clean, dry and free from dust, debris, and loose material. Any cracks or holes should be filled with plaster or filler and allowed to dry before starting the plastering work.
If the surface is made of plasterboard, it is recommended to apply a skim coat of plaster to even out the surface. This will ensure that the plaster adheres well to the surface and provides a smooth finish.
It is also essential to ensure that the surface is level and plumb. Any unevenness or bumps on the surface can cause problems during plastering and result in an uneven finish. In case of any significant irregularities, it is recommended to use a straight edge or a spirit level to mark the high and low points and adjust the surface accordingly.
Mixing Plaster
Mixing plaster is a crucial step in achieving a smooth and even finish. The plaster should be mixed according to the manufacturer's instructions, using clean water and a clean mixing bucket.
It is essential to mix the plaster thoroughly, ensuring that there are no lumps or air bubbles in the mix. A drill mixer or a plaster mixer can be used to achieve a smooth and consistent mix.
The consistency of the plaster mix should be such that it is easy to apply but not too runny. It should be thick enough to stay on the trowel without dripping off. Overmixing or adding too much water can result in a weak mix that is prone to cracking or crumbling.
In summary, proper surface preparation and plaster mixing are critical to achieving a smooth and even plaster finish. By following the guidelines outlined in this section, you can ensure that your plastering project is a success.
Plastering Techniques
Applying the First Coat
When applying the first coat of plaster, it is important to use the correct technique to ensure a smooth and even finish. A plaster float is a useful tool for this stage of the process. It is a flat, rectangular tool with a handle that is used to spread and smooth the plaster.
To begin, the plaster should be applied to the wall in a thin layer using a plastering trowel. The plaster float can then be used to spread the plaster evenly across the surface of the wall. The float should be held at a slight angle to the wall and moved in a circular motion to ensure an even coverage.
It is important to work quickly when applying the first coat of plaster, as it can begin to set within a matter of minutes. This means that any mistakes or inconsistencies will be difficult to correct once the plaster has dried.
Smoothing and Levelling
Once the first coat of plaster has been applied, it is time to smooth and level the surface. This is where the plaster float comes into its own. The float can be used to smooth out any bumps or lumps in the plaster and create a flat, even surface.
To achieve the desired finish, the plaster should be smoothed in a circular motion using the float. The float should be held at a slight angle to the wall and moved in a circular motion to ensure an even coverage. Any excess plaster can be scraped off the float using a plastering trowel.
It is important to work quickly when smoothing and levelling the plaster, as it can begin to set within a matter of minutes. This means that any mistakes or inconsistencies will be difficult to correct once the plaster has dried.
Overall, choosing the right type of plastering trowel is important for achieving a smooth and even finish. By following the correct techniques and using the right tools, anyone can achieve a professional-looking plastered wall.
Working with Different Surfaces
Plastering on Drywall
When plastering on drywall, it is important to choose a trowel that is appropriate for the job. A stainless steel trowel with a flexible blade is recommended, as it allows for easy application of plaster onto the surface without damaging the drywall. The blade should be at least 4 inches wide, which will help to cover a larger area and reduce the number of passes required.
It is also important to ensure that the drywall is properly prepared before plastering. This means that the surface should be clean and free of any debris or dust. Any holes or cracks should be filled with joint compound and sanded down before plastering.
Plastering on Other Surfaces
When plastering on surfaces other than drywall, such as brick or concrete, a different type of trowel may be required. A plastering trowel with a rounded tip and a thicker blade is recommended, as it provides better control and allows for a thicker layer of plaster to be applied.
It is important to note that different surfaces may require different types of plaster. For example, a lime-based plaster may be more suitable for older, historic buildings, while a gypsum-based plaster may be more appropriate for modern constructions. It is important to choose the right type of plaster for the surface being worked on to ensure a successful outcome.
In summary, when choosing a plastering trowel, it is important to consider the surface being worked on and the type of plaster being used. By selecting the right trowel for the job, and properly preparing the surface, a smooth and even finish can be achieved.
Finishing Touches and Detail Work
Sanding and Polishing
After the plaster has dried and set, it's time to sand and polish the surface to achieve a smooth and even finish. This is where the right type of plastering trowel comes in handy. A plastering trowel with a flexible blade will help you achieve a smooth finish, while a rigid blade is useful for scraping away excess plaster.
To sand the surface, use a fine-grit sandpaper and work in circular motions. Be sure to dust off any debris before moving on to the next step. For a polished finish, use a steel trowel to burnish the surface. This will help create a smooth and shiny surface.
Fixing Imperfections
Even with the best plastering skills, imperfections can still occur. It's important to address these imperfections before the plaster dries completely. A plastering trowel with a pointed tip is useful for fixing small imperfections, while a larger trowel is better for larger areas.
To fix a small imperfection, use the pointed tip of the trowel to gently scrape away excess plaster. Then, use a damp sponge to smooth out the surface. For larger imperfections, use a larger trowel to scrape away excess plaster and reapply a fresh coat of plaster. Be sure to smooth out the surface with a damp sponge before the plaster dries.
By using the right type of plastering trowel and following these finishing touches and detail work techniques, you can achieve a professional-looking finish for your plastering project.
Maintenance and Care of Plastering Tools
Cleaning Your Trowel
To ensure the longevity of your plastering trowel, it is important to clean it after every use. This will prevent any build-up of plaster or debris on the blade, which can lead to rusting and corrosion.
To clean your trowel, use a damp cloth or sponge to wipe away any excess plaster. For stubborn patches of plaster, use a wire brush or scraper to gently remove it. Avoid using abrasive materials, as this can damage the blade.
Once the trowel is clean, dry it thoroughly with a clean cloth. This will prevent any moisture from causing rust or corrosion.
Storing Plastering Equipment
Proper storage of your plastering equipment is essential to prevent damage and ensure longevity. When not in use, store your trowel in a dry, cool place, away from direct sunlight.
Avoid storing your trowel in a damp or humid environment, as this can cause rust and corrosion. If possible, store your trowel in a protective case or cover to prevent any damage.
It is also important to store your trowel in a way that prevents any pressure on the blade. Placing heavy objects on top of your trowel can cause the blade to bend or warp, which can affect its performance.
By following these simple maintenance and care tips, you can ensure the longevity of your plastering trowel and other plastering equipment.
Troubleshooting Common Plastering Issues

When it comes to plastering, even the most experienced professionals can run into issues. Here are some common problems that can arise during a plastering project, and how to troubleshoot them.
Avoiding and Repairing Cracks
Cracks in plaster can be unsightly and can compromise the integrity of the surface. To avoid cracks, it's important to use the right mix of plaster and to apply it evenly. Uneven application can cause the plaster to dry at different rates, leading to cracking.
If cracks do appear, they can be repaired. Small cracks can be filled with a jointing compound, while larger cracks may need to be cut out and replastered. It's important to address cracks as soon as possible, as they can worsen over time.
Dealing with Dampness
Dampness can be a serious issue in plastering, as it can cause the plaster to bubble and peel away from the surface. To avoid dampness, it's important to ensure that the surface is dry and free from moisture before applying plaster.
If dampness does occur, it's important to address the underlying issue. This may involve fixing leaks or improving ventilation in the room. Once the underlying issue has been addressed, the affected plaster can be removed and replastered.
It's also important to use the right type of plasterboard for damp areas. Moisture-resistant plasterboard is designed to withstand damp conditions, and can be a good choice for bathrooms and other areas with high humidity.
By taking the right precautions and addressing issues as they arise, you can ensure a successful plastering project.