Currency
Have a question? Speak to one of our experts on 0800 0886099
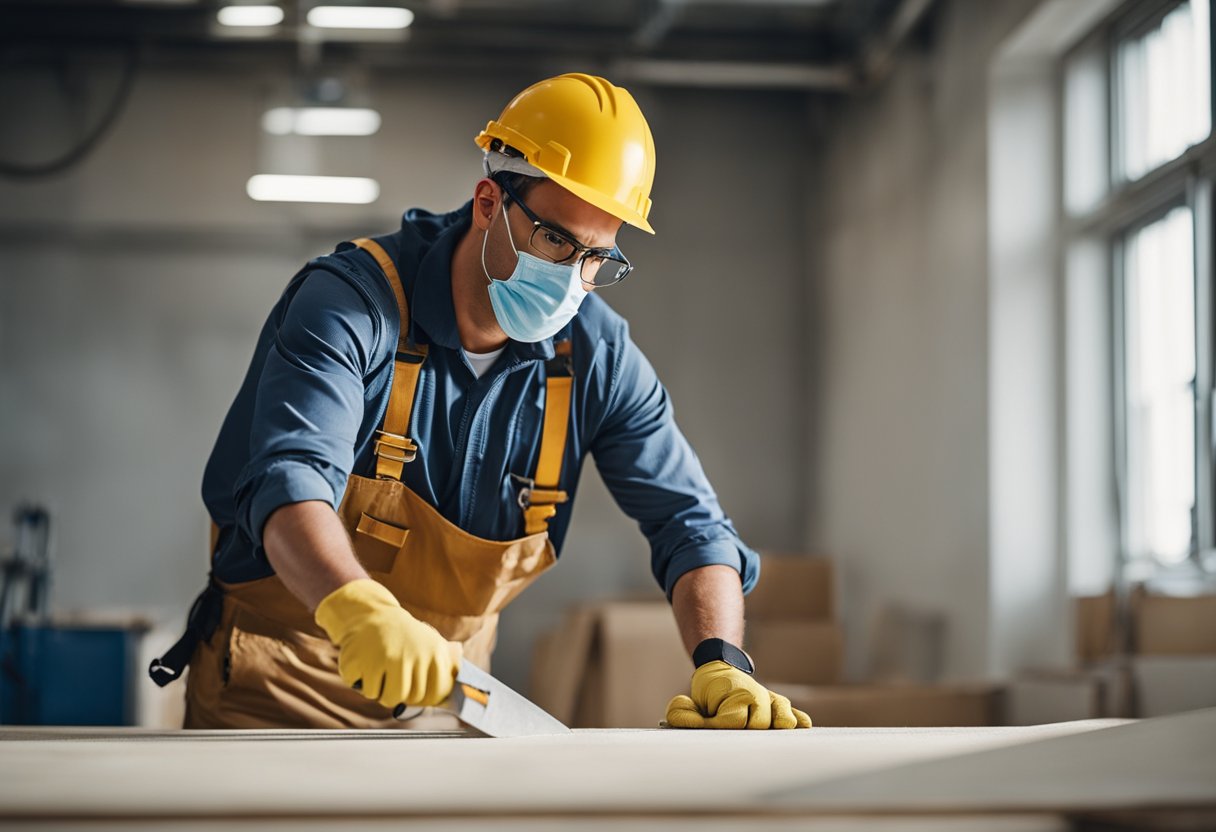
Cutting and Jointing Plasterboard the Professional Way: Expert Techniques
28
Jun
Cutting and Jointing Plasterboard the Professional Way: Expert Techniques
Cutting and jointing plasterboard is a task that can transform your home renovation project from a DIY disaster into a professional-quality finish. Whether you are working on a new build or renovating an old room, getting the plasterboard cutting and joining right is crucial for a perfect outcome.
Accurate measurements and the right tools are key to cutting plasterboard efficiently. Tools like a Stanley knife, a plasterboard saw, and a tape measure ensure precision and a clean cut. For joining plasterboard, it’s important to align the boards properly and use the correct amount of screws or nails to secure them in place without breaking the surface paper. Proper techniques will help you achieve a seamless and smooth finish, ready for painting or wallpapering.
Taking the time to plan and prepare your work area properly can make all the difference. Detail-oriented techniques and tips from professionals can significantly improve your results, making your plasterboard installation not just easier, but also more efficient. By following these guidelines, you can ensure a high-quality finish for your plasterboard project.
Key Takeaways
- Accurate measurements and precision tools are crucial for cutting plasterboard.
- Proper alignment and securing with the right amount of screws or nails ensure seamless joins.
- Detail-oriented preparation and professional techniques improve overall results.
Essential Tools and Materials
When cutting and joining plasterboard, having the right tools and materials is crucial for achieving a professional finish. This guide will help you understand what you need to ensure that your work is of the highest standard.
Choosing the Right Tools
Utility Knife or Stanley Knife: These are essential for scoring and cutting plasterboard. A sharp, high-quality knife ensures clean cuts.
Plasterboard Saw or Fine-Toothed Saw: For cutting straight lines and detailed shapes, these saws are ideal. They help achieve a smooth edge.
Spirit Level and Square: These tools are used for making straight and accurate lines. Ensure the level is used to maintain precision.
Tape Measure: A reliable tape measure is crucial for taking accurate measurements before cutting.
Guide Rail: This can help in making long, straight cuts with a utility knife or saw. It acts as a straight edge.
Screws and Drywall Screw Gun: Use screws specifically designed for plasterboard to ensure secure fixing. A screw gun will make this process faster and more efficient.
Staple Gun: While not always necessary, a staple gun can speed up attaching parts of the plasterboard, especially around edges.
Pencil: Essential for marking measurements and cut lines.
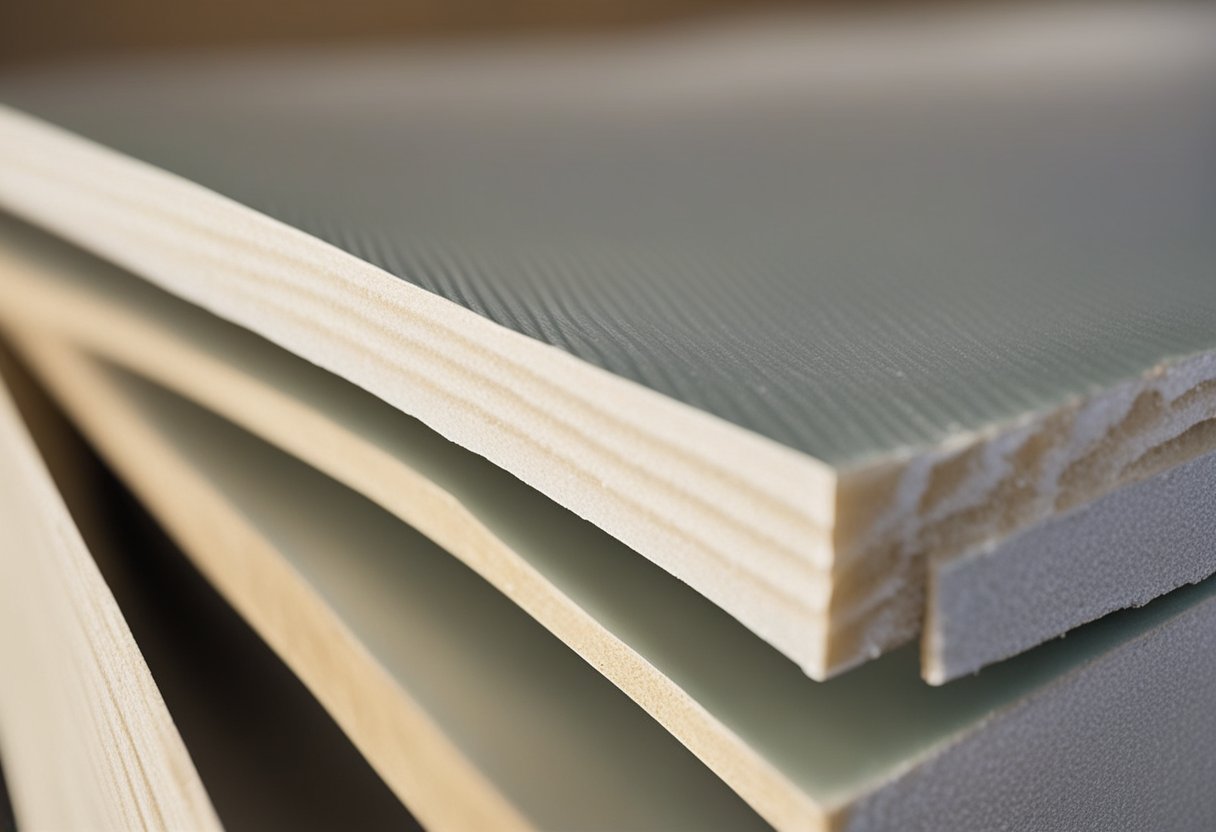
Materials Overview
Plasterboard Sheets: The primary material, available in various sizes and thicknesses, depending on your project needs.
Adhesive and Plasterboard Adhesive: These are used for fixing plasterboard sheets to walls or ceilings. Make sure you use the right adhesive for the job.
Screws and Nails: Use plasterboard screws and nails, designed to provide a secure hold, preventing the board from moving or cracking.
Plasterboard Jointing Compound: For joining plasterboard sheets and covering screws. This compound helps achieve a smooth finish.
Corner Beads and Joint Tape: These materials are used to reinforce corners and joints between plasterboard sheets, preventing cracking and ensuring a professional finish.
Accessories: Other useful accessories include sandpaper for smoothing rough edges and protective gear like gloves and masks for safety.
Using these tools and materials will make the process of cutting and joining plasterboard more efficient and result in a high-quality finish.
Preparation and Planning
Proper preparation and planning are essential for a professional finish when cutting and joining plasterboard. Accurate measuring and marking ensure that cuts are precise and materials fit correctly.
Measuring and Marking Accurately
To start, use a tape measure to measure the space where the plasterboard will be fitted. Measure both the left and right sides to verify that they are even. If the space is uneven or not square, this will help in making necessary adjustments.
Next, using a pencil, mark the measurements directly on the plasterboard. For straight lines, employ a spirit level to ensure the lines are perfectly horizontal or vertical. This tool is crucial for keeping the lines straight and accurate.
Once measurements are marked, double-check them to make sure there are no errors. It’s better to catch mistakes at this stage rather than after the cutting has begun. This careful attention to detail will save time and materials.
When all lines are correctly marked, use screws or pins to hold the plasterboard securely before cutting or joining, ensuring it stays steady. These steps ensure precision and help avoid common pitfalls like mismatched joints and uneven edges.
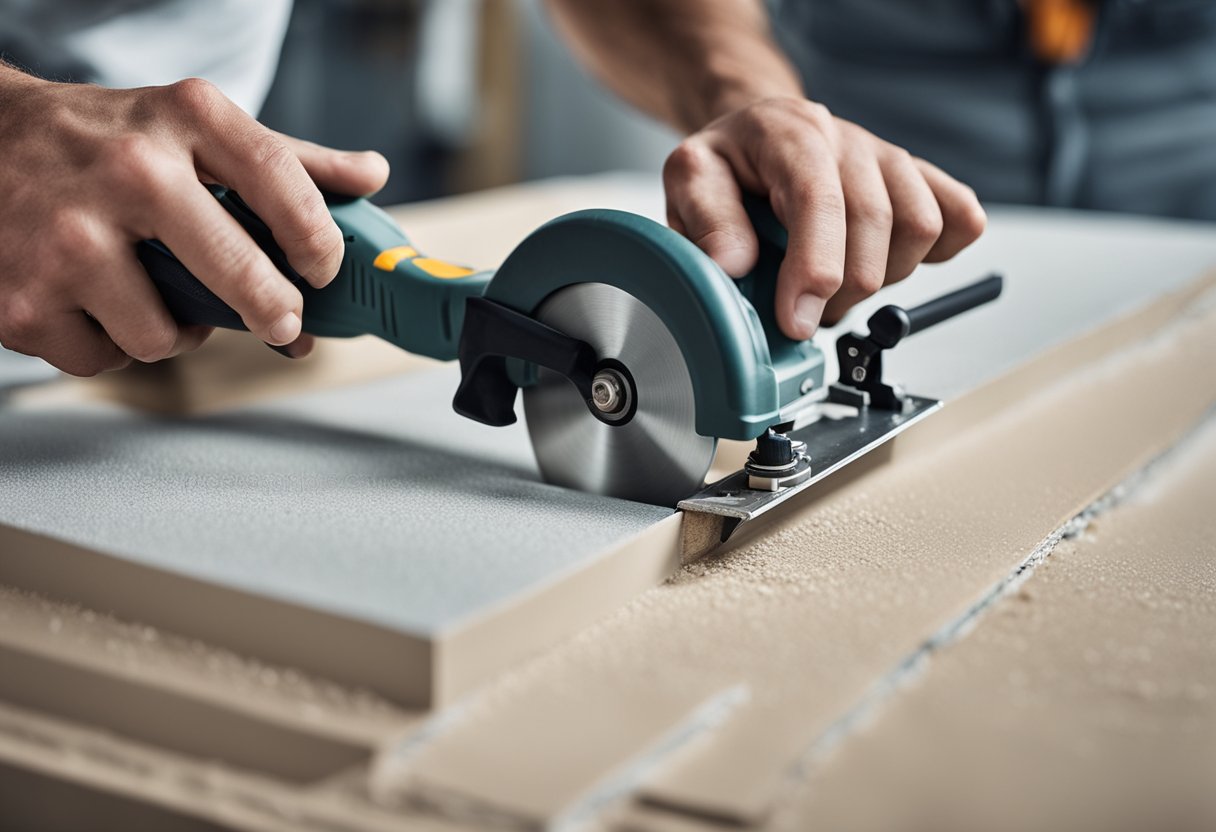
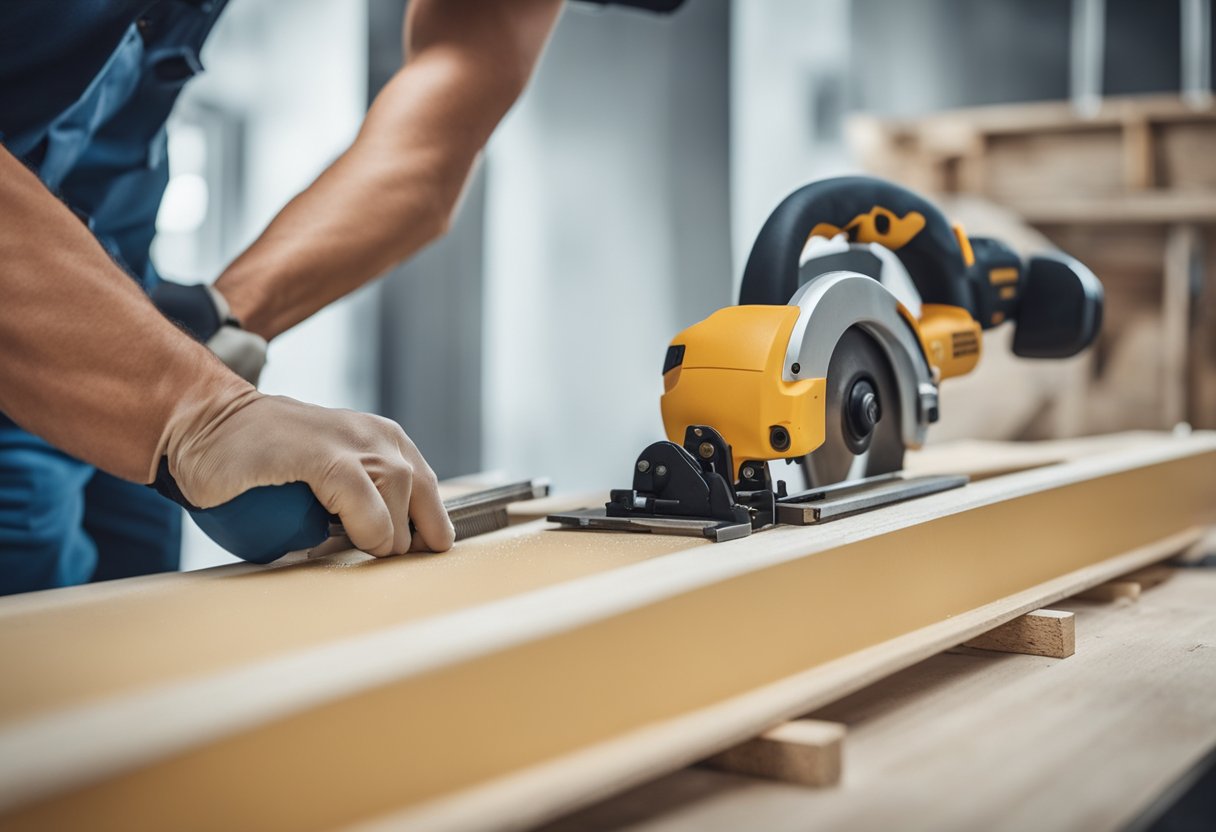
Cutting Techniques
Accurate cutting of plasterboard is essential for a clean finish. Techniques vary depending on whether you are making straight cuts, circular holes, or fitting around fixtures.
Straight Cuts
Straight cuts are the most common type of cuts for fitting plasterboards. First, measure the area using a tape measure. Mark the measurement on the plasterboard with a pencil.
For straight cuts, align a straight edge or spirit level along the marked line. Use a utility knife to score the plasterboard. Ensure the score line is not too deep—around 3mm is sufficient.
Once scored, stand the plasterboard upright and snap it along the score line. Use a plasterboard saw or Stanley knife to cut through the paper backing and complete the cut. Any rough edges can be smoothed out with a rasp.
Circular and Special Shapes
Cutting circular holes and special shapes, like L shapes, requires different tools and techniques. For circular cuts, a compass or a template can be used to draw the circle on the plasterboard.
Using a jab saw or a multi-tool, make an initial plunge cut. Carefully saw around the marked circle to create the hole. Plunge-cut saws are particularly useful for this purpose as they provide precision.
For special shapes like L shapes, mark the area with a pencil. Use a straight edge and score the areas to be cut. Follow with a jab saw or multi-tool. Again, smooth any rough edges with a rasp.
Cutting for Fixtures and Fittings
When fitting plasterboard around fixtures like electrical outlets or pipes, accurate cuts are necessary. First, measure the dimensions of the fixture and mark it on the plasterboard.
For smaller rectangular or square cuts, score the outline and use a plasterboard saw or multi-tool to cut out the area. For pipes, draw the circumference and use a jab saw or plunge-cut saw for cutting.
Finally, ensure the cuts are precise to prevent gaps and uneven finishes. A plasterboard hammer can help to tap edges into place once fitted. Ensure smooth, professional edges by using the right tools for each specific cut type.
Proper Techniques for Joining Plasterboard
Joining plasterboard can be a precise job. It involves correct placement and securing of panels to create smooth, professional seams. The two main techniques are screwing/nailing and using plasterboard adhesive.
Screwing and Nailing
When securing plasterboard, it is vital to use the right screws or nails. Gypsum core panels should be fixed to the stud wall with screws spaced 200-300 mm apart. Drywall screws are best because they prevent popping and ensure a firm hold.
Ensure the screws are slightly indented into the plasterboard without breaking the paper surface. Use a screwdriver or drill with a drywall bit for consistency. Align the edges of the plasterboard panels closely to minimise gaps at the joints.
Nailing can also be an option, though screws are generally preferred for stronger, more reliable fastening. If using nails, ensure they do not tear the plasterboard surface. Align these as you would screws and check for a smooth finish after fastening.
Applying Plasterboard Adhesive
Plasterboard adhesive can be used in certain installations, especially when fixing boards to solid surfaces. This method works well for lining walls and partitions. Apply even blobs of adhesive to the surface where the plasterboard will be placed. The adhesive should cover a wide area, creating a strong bond.
Position the plasterboard against the wall and press firmly. Temporarily secure it with screws or nails while the adhesive sets. This helps keep the board in place and ensures a smooth seam.
For best results, use a high-quality plasterboard adhesive. Check that the surface is clean and free of dust before application. This technique helps create a smooth, seamless finish, making the jointing process easier.
Finishing Touches
Finishing plasterboard involves smoothing the edges and preparing the surface for painting or finishing. Proper steps ensure a perfect, professional look.
Sanding and Smoothing Edges
After cutting plasterboard using the score and snap method, sanding is crucial. Use fine-grit sandpaper to gently sand down rough edges. This helps to remove any unevenness left by the sharp knife.
Special attention should be paid to areas around sockets and corners. A sanding block can help maintain control and provide an even finish. For best results, sand in small, circular motions.
For joins, apply joint compound and smooth it out. Once dry, sand lightly. Multiple layers may be necessary for an even surface. Always remove dust before painting to ensure a clean finish.
Sanding well is key to achieving a flawless look in any DIY project.
Insulation and Energy Efficiency
Insulating plasterboard improves thermal efficiency, reducing energy consumption and costs. It's essential for both new builds and renovations, offering benefits like moisture resistance and easier climate control.
Working with Insulated Plasterboard
Insulated plasterboard integrates insulation directly into the building material. This double-duty board serves as both a wall surface and an insulator. It's chosen for its U-value, which measures how well the material prevents heat from escaping. Lower U-values indicate better insulation properties.
When installing insulated plasterboard, it’s crucial to measure accurately and mark the positions on the wall. Proper spacing of fixings guarantees stability. Depending on the panel size and wall type, the spacing might vary. This step helps ensure the board provides the maximum energy efficiency by reducing thermal bridging.
Insulated plasterboard is also utilised for energy-saving efforts due to its thermal properties. It helps in maintaining indoor temperatures, requiring less heating in winter and less cooling in summer. This results in lower energy bills and a smaller carbon footprint, making it a favourite among eco-conscious builders and DIY enthusiasts.
Advanced Techniques and Tips
For those looking to master plasterboard, dealing with corners and handling difficult access areas are key skills. Each technique requires precision and the right tools to ensure a seamless, professional finish.
Dealing with Corners and Angles
Working with corners and angles in plasterboard can be tricky. Accurate measurement and cutting are vital. Use a spirit level to ensure lines are straight. For cutting, a plunge-cut saw or jab saw can provide clean edges.
When fitting plasterboard around corners, remember to allow for the thickness of the board. Mitre joints are useful here. They require cutting the plasterboard edges at a 45-degree angle so they fit snugly around the corner.
For internal corners, a simple overlapping technique can be employed where one plasterboard piece overlaps the other. External corners often need reinforcement, which can be done using corner beads. They help protect the edges and provide a crisp, professional finish.
Door and window openings also need precision. Measure twice and cut once to avoid errors. Use a small punch to create the initial hole before cutting around the frame.
Managing Difficult Access
Managing plasterboard in hard-to-reach areas like plug sockets, light switches, or small access holes requires specific techniques. Begin by marking the position of these openings clearly on the plasterboard.
For cutting around plug sockets and light switches, consider using a jab saw or a multi-tool. These tools can make small, precise cuts. Ensure to cut slowly and carefully to avoid damaging the plasterboard or the wiring behind it.
When dealing with ceilings or high areas, a plasterboard lift can be incredibly helpful. It supports the board, allowing for hands-free cutting and fitting. For small access holes, a hole saw can be used to create neat round openings, which can be essential for maintenance or adding fixtures later.
If access is severely limited, think about using smaller sections of plasterboard that can be fitted together. Ensure the joints are well-supported and sealed properly to avoid visible lines or weaknesses.
Implementing these advanced tips and techniques will significantly improve the quality of your plasterboard installations. With practise, precision, and the right tools, even the most challenging aspects can be executed flawlessly.
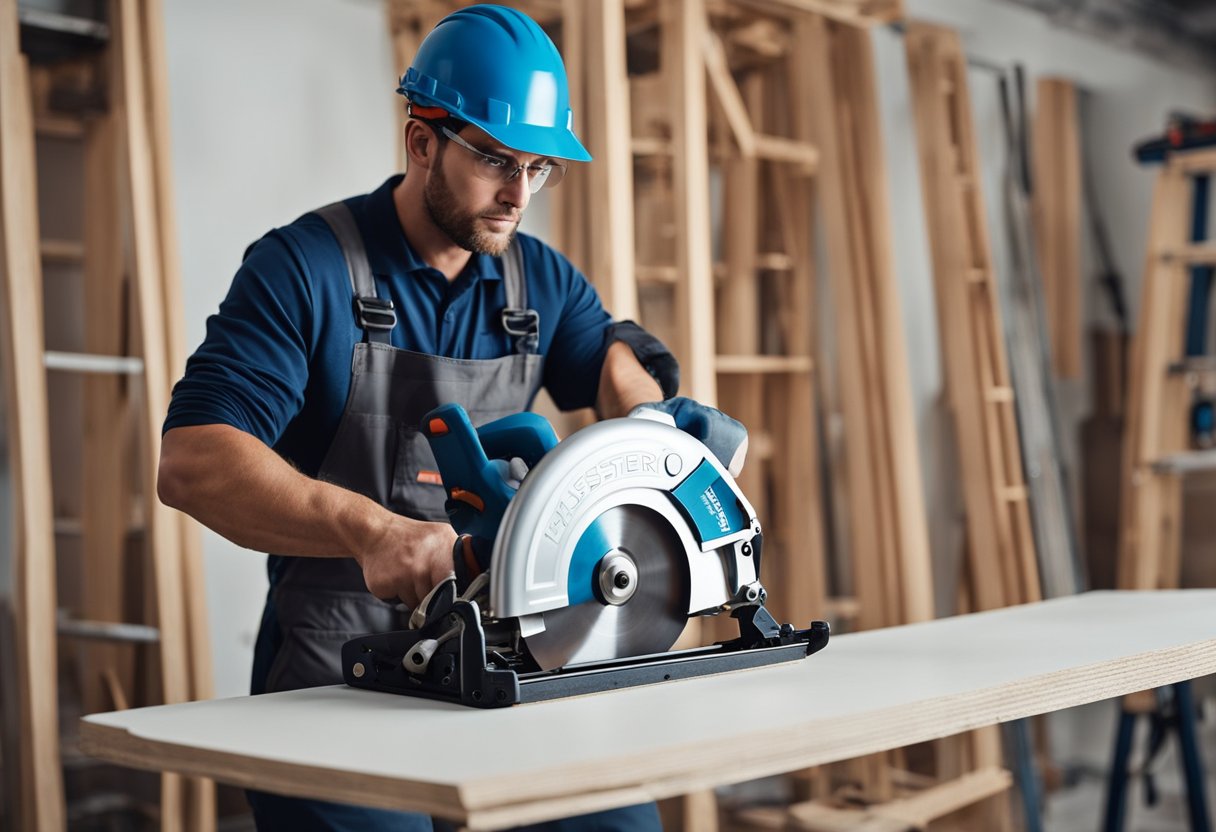
Health and Safety Measures
When working with plasterboard, health and safety are paramount. Professionals must follow several safety measures to ensure a safe working environment.
Safety Equipment: Always use proper personal protective equipment (PPE), including gloves, safety glasses, and dust masks. These items protect against dust, debris, and potential injuries.
Manual Handling: To reduce strain, use work trestles or a pivoting board table. This prevents repeated bending and lowers the risk of musculoskeletal disorders.
Cutting Plasterboard: When cutting plasterboard, do so on a stable surface. Cutting boards on their edge should be avoided as it increases the risk of accidents and strain.
Dust Management: Sanding plasterboard generates a lot of dust. It's crucial to work in well-ventilated areas or use dust extraction tools. This reduces inhalation of harmful particles.
Planning: Proper planning for plasterboard delivery and movement on-site helps eliminate hazards like ramps and steps. This minimises risks during transportation and installation.
Health Surveillance: Regular monitoring and health checks are recommended for workers frequently handling plasterboard. This helps identify any early symptoms of work-related illnesses.
Frequently Asked Questions
Cutting and joining plasterboard can be straightforward with the right techniques and tools. This section addresses common questions to help achieve a professional result.
What is the most effective method for cutting plasterboard in situ?
To cut plasterboard in situ, use a tape measure to mark the cutting line. Employ a T-square for straight edges. A utility knife can make the initial score, followed by snapping the board along the score line for a clean break. For odd shapes, a jab saw may be more suitable.
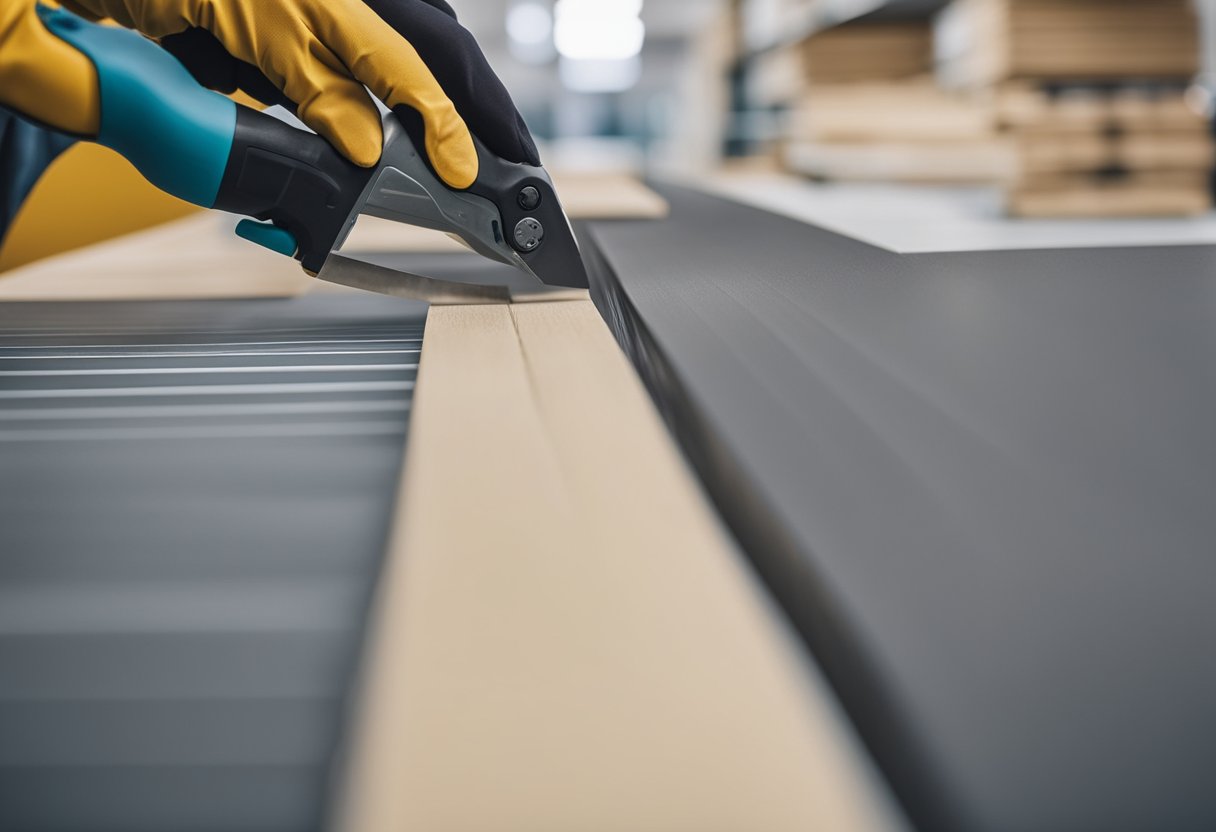
Can you explain the proper technique for slicing plasterboard with a Stanley knife?
Mark the cutting line accurately with a pencil and T-square. Position the plasterboard on a flat surface. Hold the Stanley knife firmly and score along the line. Apply even pressure to avoid veering off track. Snap the plasterboard over a straight edge and cut the paper backing to separate the pieces.
Which is the correct side of plasterboard to cut for optimal results?
Cut the grey side of the plasterboard. This side is designed to take the brunt of the cutting tools. Scoring through the grey facing ensures a cleaner break and minimizes surface damage. Always ensure accurate measuring and marking before cutting.
What's the best way to utilise a multitool for cutting plasterboard?
A multitool with a plunge-cutting blade is effective for precise cuts. Mark the area to be cut and set the tool at the edge of the marking. Guide the blade through the plasterboard, maintaining steady pressure. Multi-tools are ideal for cutting around pipes and obstacles as they offer accuracy and control.
How should one accurately cut out openings in plasterboard for electrical sockets?
Measure and mark the position of the socket on the plasterboard. Use a pencil for clear visibility. Employ a template if available. For best results, a jab saw or a multitool with an appropriate blade can make clean and precise cuts. Double-check measurements to align the opening correctly with the socket space.
Could you outline the steps for seamlessly connecting two pieces of plasterboard?
Align the edges of the plasterboard sheets carefully. Ensure there is no gap between them. Secure the sheets to the studs with screws placed every 150mm along the edges and in the middle. Use jointing tape over the seams, then apply joint compound in thin layers. Sand the compound smooth once dry before painting.