Currency
Have a question? Speak to one of our experts on 0800 0886099
Installing Drywall / Plasterboard: Know the Basics
16
May
Installing drywall or plasterboard is a common task for homeowners and professionals alike. Whether you're finishing a basement, renovating a room, or building a new home, drywall installation is a necessary step in the process. However, installing drywall can be a challenging task, especially if you're new to the process.
To ensure that your drywall installation goes smoothly and looks professional, it's important to follow a few key steps. This guide will take you through the process of installing drywall, from measuring and cutting the boards to finishing and sanding the joints. By following these steps, you'll be able to achieve a smooth, seamless finish that looks like it was done by a professional.
Before starting the installation process, it's important to gather the necessary tools and materials. You'll need drywall boards, screws, joint compound, a taping knife, a drywall saw, a drill, and a measuring tape, among other tools. Once you have your tools and materials, you can begin the installation process by measuring and cutting the drywall boards to fit the walls or ceiling. From there, you'll attach the boards to the framing, tape and mud the joints, and finish the surface to create a smooth, seamless finish.
Understanding Drywall/Plasterboard
Drywall, also known as plasterboard, is a popular material used in modern construction. It is made of gypsum plaster, sandwiched between two sheets of heavy paper. The resulting board is lightweight, easy to install, and provides a smooth, flat surface for painting or wallpapering.
Types of Drywall
There are several types of drywall available, each suited for different applications. The most common types are:
- Standard Drywall: This is the most commonly used type of drywall. It is available in various thicknesses, ranging from 1/4 inch to 5/8 inch, and is suitable for most residential and commercial applications.
- Moisture-Resistant Drywall: This type of drywall is designed for use in areas that are exposed to moisture, such as bathrooms and kitchens. It is made with a water-resistant core and is often referred to as green board.
- Fire-Resistant Drywall: This type of drywall is designed to resist fire, and is often used in garages and other areas where fire is a concern. It is available in various thicknesses and is often labelled as Type X.
Tools and Materials Required
Before attempting to instal the drywall sheets, it is important to have the right tools and materials on hand. Here are some of the essentials:
- Measuring tape »
- Utility knife »
- Drywall saw »
- Screw gun »
- Drywall screws »
- Joint compound »
- Drywall tape »
- Sandpaper »
In addition to these tools and materials, it is important to have a level and a straight edge to ensure that the drywall is installed correctly. With the right tools and materials, anyone can install drywall like a professional.
Preparation for Installation
Before starting the installation of plasterboard, it is important to properly prepare the room. This includes measuring and cutting the plasterboard to size and making sure the room is ready for installation.
Measuring and Cutting
Measuring and cutting the plasterboard is a crucial step in the installation process. It is important to measure the area where the plasterboard will be installed accurately. This will ensure that the plasterboard fits properly and reduces the amount of waste.
To measure the area, use a tape measure to determine the length and height of the walls. Once you have the measurements, transfer them to the plasterboard and use a straight edge to draw a line where the plasterboard needs to be cut.
When cutting the plasterboard, it is important to use a sharp knife or saw. A dull blade can damage the plasterboard and make it difficult to work with. Cut the plasterboard to the correct size, making sure to leave space for any electrical outlets or switches.
Room Preparation
Before installing the plasterboard, it is important to prepare the room. This includes removing any furniture or fixtures that may be in the way and protecting the floors and walls.
Cover the floors with a drop cloth or plastic sheeting to protect them from any dust or debris that may fall during the installation process. Use masking tape to protect any baseboards or trim that may be in the way.
It is also important to make sure the walls are clean and free of any debris. Use a broom or vacuum to remove any dust or dirt from the walls.
By properly preparing the room and measuring and cutting the plasterboard accurately, the installation process will be smoother and more efficient.
Installation Techniques
Hanging Drywall on Walls
To hang drywall on walls like a professional, the following steps should be followed:
- Measure the wall: Before hanging drywall, it is important to measure the wall to determine the size of the drywall sheets needed.
- Cut the drywall: After measuring the wall, cut the drywall sheets to the appropriate size using a T-square and a utility knife.
- Install the drywall: Begin installation by placing the first sheet of drywall against the wall and securing it with screws. Continue with subsequent sheets, making sure to stagger the seams to ensure a stronger and more secure installation.
- Tape and mud the seams: After the drywall sheets have been installed, tape and mud the seams to ensure a smooth and seamless finish.
Attaching Drywall to Ceilings
To attach drywall to ceilings like a professional, the following steps should be followed:
- Measure the ceiling: Before attaching drywall to the ceiling, it is important to measure the ceiling to determine the size of the drywall sheets needed.
- Cut the drywall: After measuring the ceiling, cut the drywall sheets to the appropriate size using a T-square and a utility knife.
- Install the drywall: Begin installation by placing the first sheet of drywall against the ceiling and securing it with screws. Continue with subsequent sheets, making sure to stagger the seams to ensure a stronger and more secure installation.
- Use a lift: To make the installation process easier, use a drywall lift to hold the sheets in place while they are being secured to the ceiling.
- Tape and mud the seams: After the drywall sheets have been installed, tape and mud the seams to ensure a smooth and seamless finish.
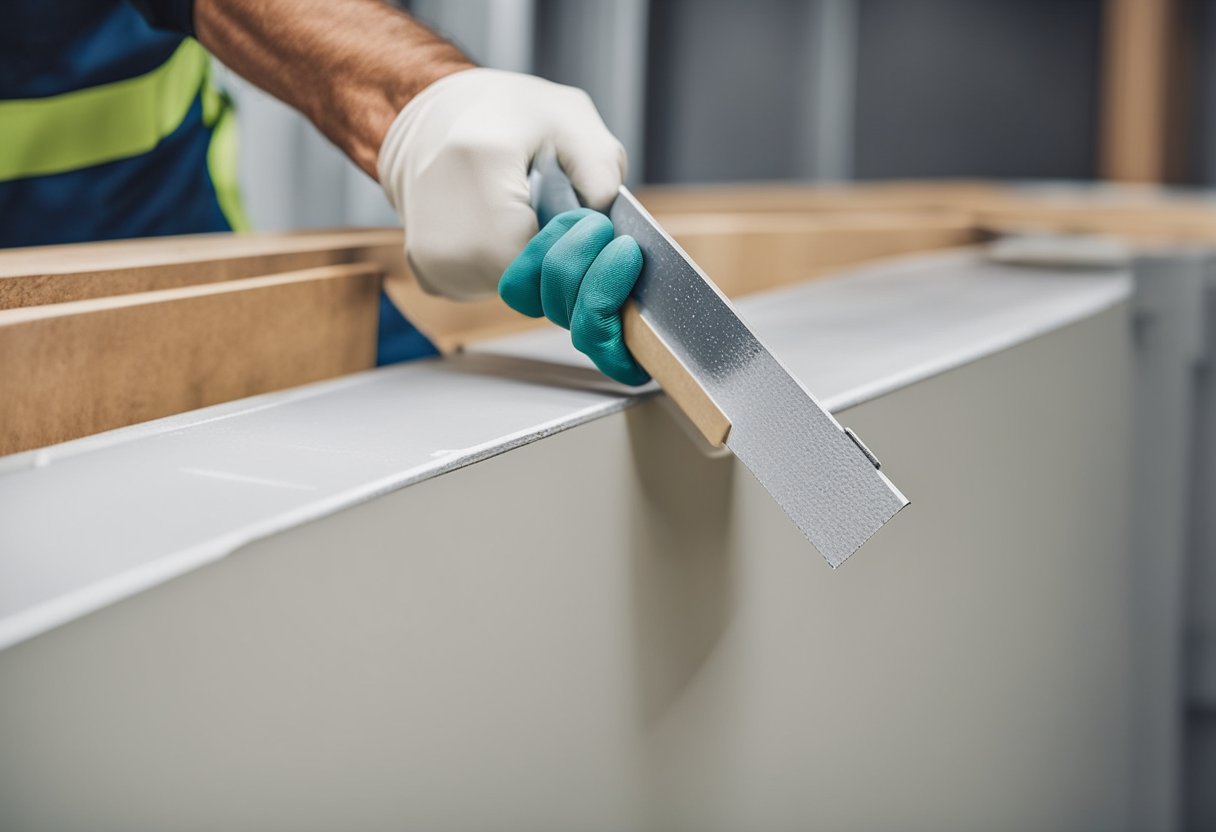
Taping and Finishing
When it comes to installing drywall or plasterboard, taping and finishing are crucial steps to achieving a professional-looking result. Here are some tips to help you get it right.
Applying Joint Compound
Before applying joint compound, ensure that the joints are clean and free of debris. Apply a thin layer of joint compound over the joint using a trowel, ensuring it covers the entire length. Next, press the jointing tape firmly into the compound, making sure it lays flat and centered over the joint. Use a drywall knife to embed the tape into the joint compound, pressing it firmly in place. Smooth out any excess compound and allow it to dry completely.
Once dry, apply a second layer of joint compound, feathering it out beyond the edges of the tape to create a smooth transition. Allow this layer to dry too. For a professional finish, repeat this step with a third layer of joint compound, feathering it out even further beyond the edges of the tape. Allow this layer to dry completely before moving on to the next step.
Sanding for Smoothness
After the final coat of joint compound has dried, it's time to sand the surface for smoothness. Use a sanding block or sandpaper to smooth out any bumps or rough spots. Be careful not to sand too much, as this can damage the surface and create unevenness.
To ensure a smooth finish, use a fine-grit sandpaper and sand in a circular motion. Wipe the surface clean with a damp cloth to remove any dust or debris. Once the surface is completely dry, it's ready for painting or wallpapering.
By following these steps, you can achieve a professional-looking finish for your drywall or plasterboard installation. Remember to take your time and be patient, as rushing through these steps can lead to a less-than-perfect result.
Tips and Tricks
Installing drywall or plasterboard can be a challenging task, but with the right tips and tricks, it can be done like a professional. Here are some of the professional tips and tricks to help you install drywall or plasterboard like a pro.
1. Measure Twice, Cut Once
Before cutting the drywall or plasterboard, it is important to measure the area where it will be installed. Measure the length and width of the wall or ceiling accurately and mark the measurements on the drywall or plasterboard. Double-check the measurements before cutting to avoid any mistakes.
2. Use the Right Tools
Using the right tools is essential for a professional-looking finish. Make sure to use a sharp utility knife, a T-square, a drywall saw, and a drywall screw gun. These tools will help you cut the drywall or plasterboard accurately and install it correctly.
3. Install Drywall Horizontally
Installing drywall horizontally can make the installation process easier and faster. It also reduces the number of joints and seams, which can improve the overall appearance of the finished product.
4. Use Screws, Not Nails
Using screws instead of nails is a better option for attaching drywall or plasterboard to the studs. Screws are less likely to pop out over time and provide a stronger hold. Make sure to use the right length of screws based on the thickness of the drywall or plasterboard.
5. Finish with Joint Compound
After installing the drywall or plasterboard, it is important to finish it with joint compound. Joint compound fills in the gaps and seams between the drywall or plasterboard sheets, creating a smooth surface for painting or wallpapering.
By following these professional tips and tricks, you can install drywall or plasterboard like a pro. Remember to take your time, measure accurately, and use the right tools for the job.
Drywall Repair and Maintenance
Fixing Common Issues
Drywall is a durable material, but it can still experience wear and tear over time. Common issues with drywall include cracks, holes, and dents. These issues can be easily fixed with the right tools and techniques.
For small cracks and holes, use a putty knife to apply spackle or joint compound to the affected area. Smooth out the surface and let it dry completely before sanding it down. For larger holes, you may need to use a drywall patch kit. Follow the instructions carefully to ensure a seamless repair.
Dents and scratches can be fixed with a bit of joint compound and sandpaper. Apply the joint compound to the affected area with a putty knife, let it dry, and then sand it down until it is smooth and level with the surrounding surface.
Long-Term Care
To keep your drywall looking its best, it's important to take good care of it. Regular cleaning can help prevent dust and dirt from building up on the surface. Use a soft-bristled brush or vacuum attachment to gently remove any debris.
If you need to repaint your drywall, choose a high-quality paint that is specifically designed for use on drywall. This will help ensure a smooth, even finish that lasts for years to come.
In addition to regular cleaning and maintenance, it's also important to address any issues with your drywall as soon as they arise. This will help prevent further damage and ensure that your walls look their best for years to come.
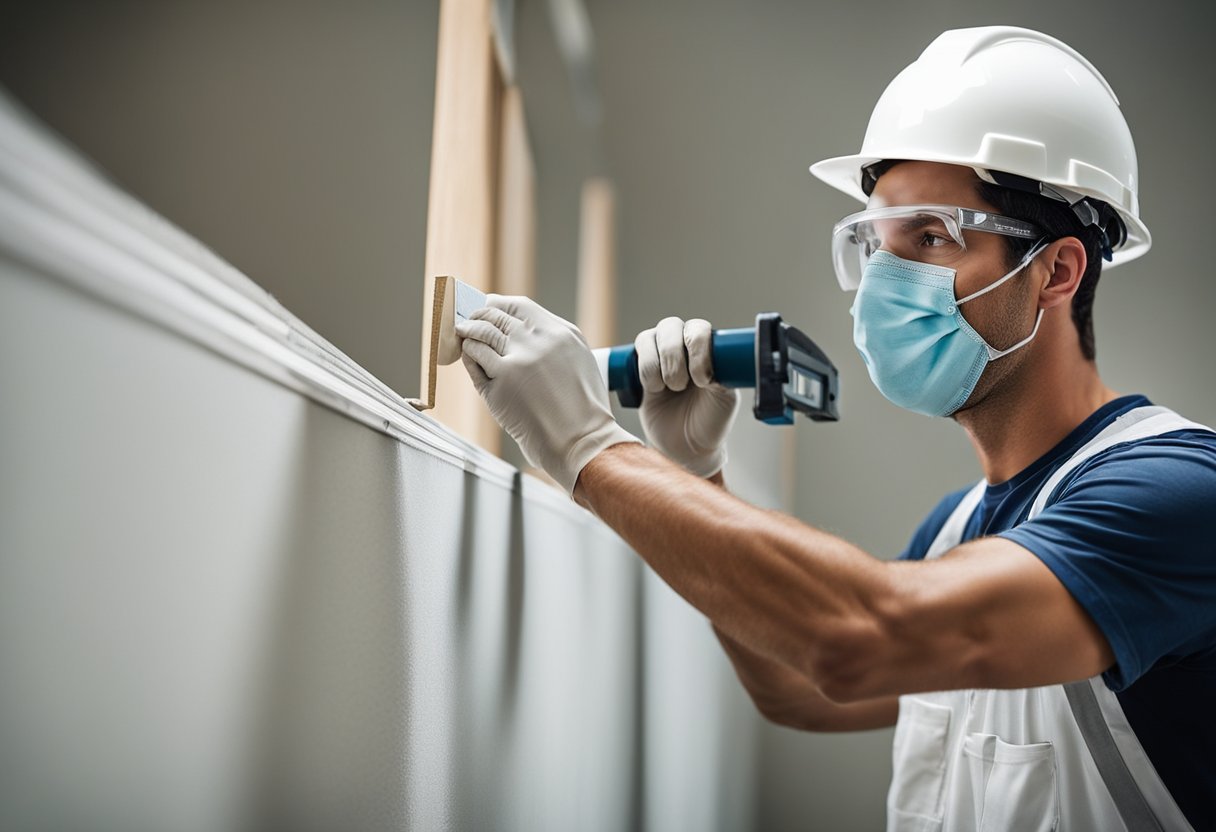
Health and Safety Considerations
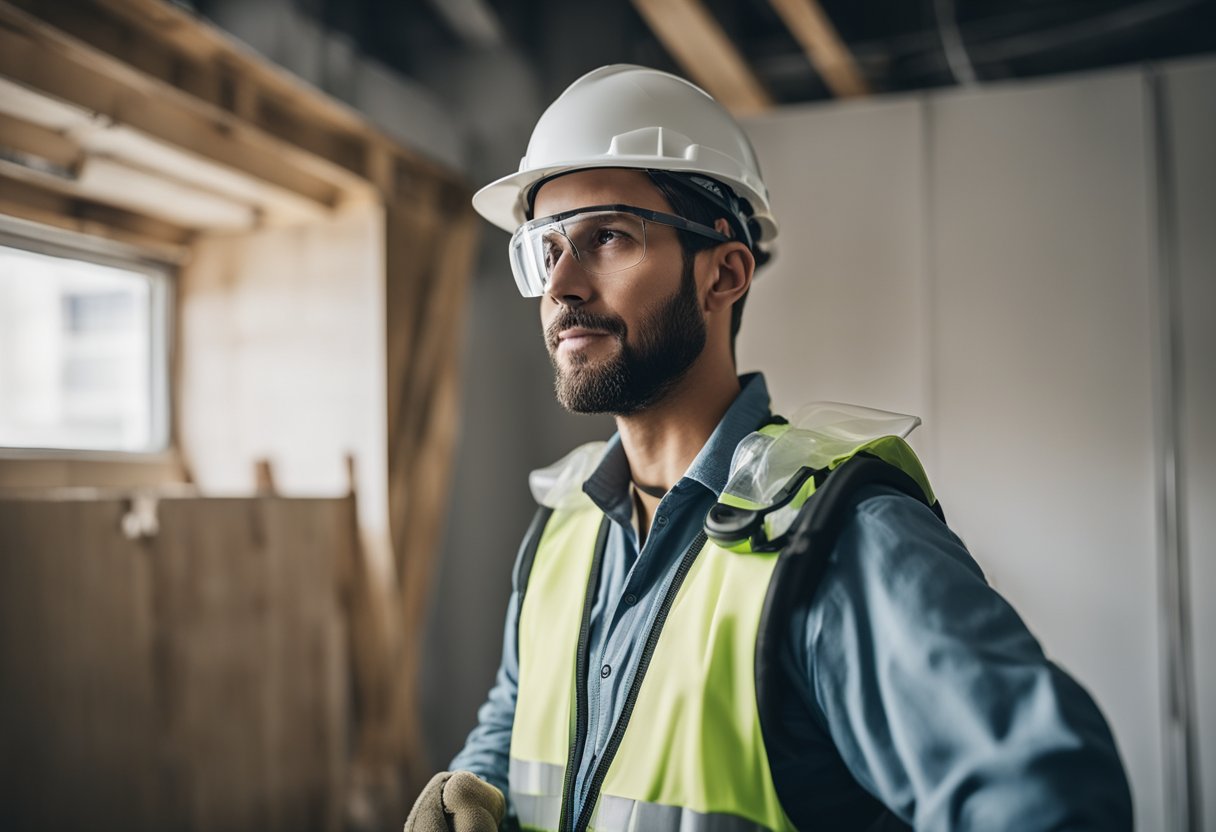
When it comes to installing drywall/plasterboard, health and safety considerations are of utmost importance. The following are some of the key considerations:
Manual Handling
The installation of plasterboard involves a lot of manual handling, which can lead to musculoskeletal disorders (MSDs) if not done properly. To avoid this, it is important to follow good manual handling techniques, such as:
- Lifting with the legs, not the back
- Keeping the load close to the body
- Avoiding twisting or turning while lifting
- Using lifting aids, such as trolleys or hoists, where possible
Personal Protective Equipment (PPE)
To protect against dust and debris, it is important to wear appropriate PPE, such as:
- Dust masks
- Eye protection
- Gloves
Electrical Safety
When installing drywall, it is important to be aware of electrical hazards. This includes:
- Ensuring that power tools are properly grounded
- Avoiding contact with electrical wires when cutting or drilling
- Turning off power to the area being worked on, where possible
Fire Safety
Drywall is highly flammable and can contribute to the spread of fire. To reduce the risk of fire, it is important to:
- Use fire-resistant drywall where required
- Ensure that electrical wiring is properly installed and up to code
- Avoid smoking or using open flames in the area being worked on.
Environmental Considerations and Waste Management
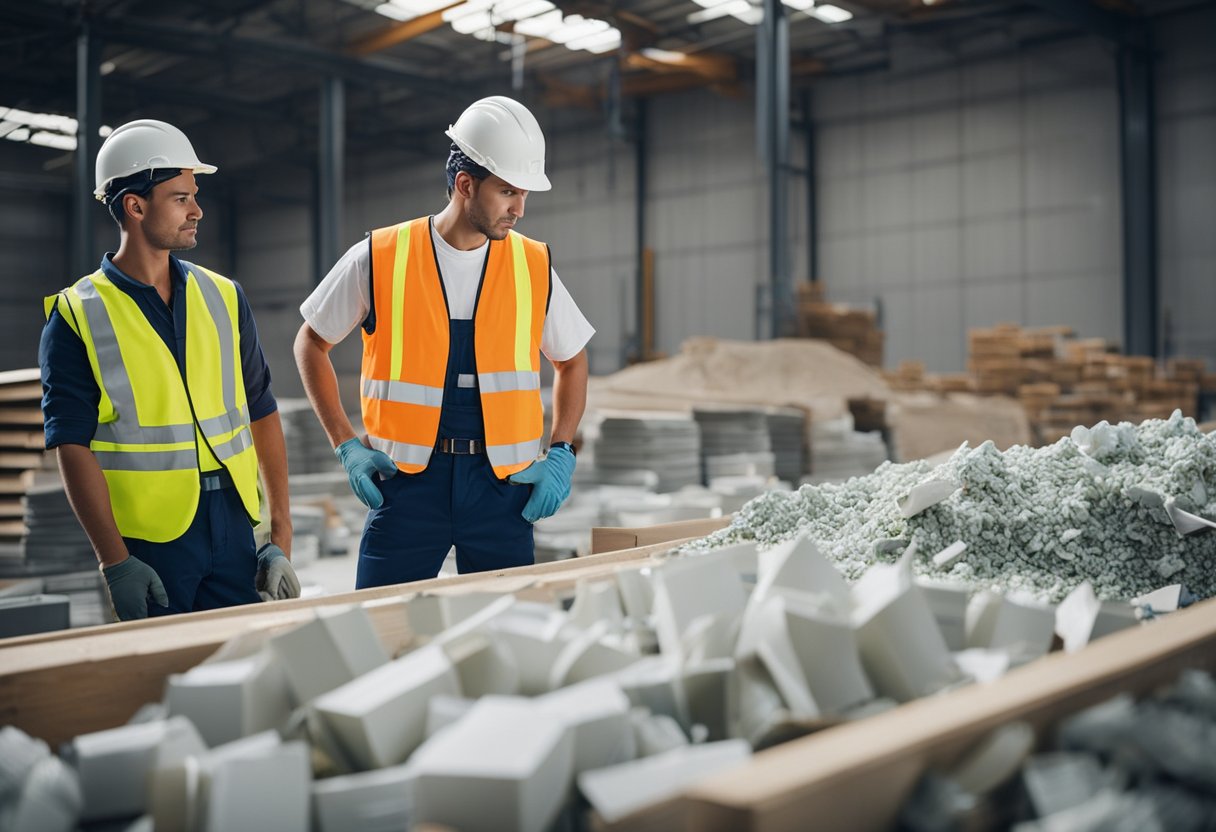
When installing drywall or plasterboard, it's important to consider the environmental impact of the materials used and the waste generated. Here are some tips to help minimise the impact on the environment:
Material Selection
When selecting drywall or plasterboard, choose products that have a high percentage of recycled content. This can help reduce the demand for virgin materials and lower the carbon footprint of the product. British Gypsum, for example, offers plasterboard with up to 25% recycled content.
Waste Management
Proper waste management is crucial to minimise the environmental impact of drywall or plasterboard installation. Here are some tips to help manage waste:
- Recycle: Many manufacturers offer recycling services for their products. For example, British Gypsum has a plasterboard recycling service that takes back and recycles waste at its manufacturing sites throughout the UK. Contact the manufacturer to find out if they offer a similar service.
- Reuse: If possible, try to reuse any leftover drywall or plasterboard. This can help reduce the amount of waste generated and lower the environmental impact.
- Dispose of waste properly: If recycling or reusing is not an option, make sure to dispose of waste properly. Drywall or plasterboard should never be disposed of in landfill as it can take decades to break down and release harmful chemicals into the environment. Instead, dispose of it at a licensed waste facility.
By following these tips, it's possible to install drywall or plasterboard while minimising the environmental impact and managing waste properly.
Legal Requirements and Building Regulations
When it comes to installing drywall or plasterboard, it is important to ensure that you are meeting all the necessary legal requirements and building regulations. Failure to comply with these regulations can result in fines or even legal action, so it is crucial to get it right from the start.
The Building Regulations are designed to ensure that new buildings meet health, safety, welfare, convenience, and sustainability standards. They relate to the specifics of how a building should be constructed, including the installation of drywall or plasterboard.
Some of the key regulations that you need to be aware of when installing drywall or plasterboard include:
- Fire safety: The Building Regulations require that all walls and ceilings have a certain level of fire resistance. This means that the materials used in their construction must be able to withstand fire for a specified period of time.
- Acoustic insulation: The Building Regulations also require that walls and ceilings provide a certain level of acoustic insulation. This is to ensure that noise from one room does not disturb occupants in another room.
- Structural stability: Drywall or plasterboard must be installed in a way that ensures the structural stability of the building. This means that it must be securely fixed to the wall or ceiling and must not be able to move or fall.
It is important to note that building regulations can vary depending on the location and type of building. Therefore, it is advisable to consult with a professional before starting any installation work.
In addition to building regulations, there may also be local planning requirements that you need to adhere to. These could include restrictions on the use of certain materials or the need for planning permission for certain types of work.
By ensuring that you are meeting all the necessary legal requirements and building regulations, you can be confident that your drywall or plasterboard installation is safe, secure, and compliant.
Final Inspection and Quality Check
Once the drywall installation is complete, it is crucial to conduct a final inspection and quality check to ensure that the work meets the required standards. The following checklist can be used as a guide to ensure that the installation is of high quality:
- Check the drywall for any visible defects, such as cracks, dents, or chips. Any defects should be repaired immediately.
- Ensure that the drywall is installed according to the manufacturer's instructions and local building codes.
- Check that the drywall is level and plumb. If it is not, adjustments should be made before proceeding.
- Inspect the drywall screws to ensure that they are properly installed and not overdriven. Any screws that are not properly installed should be replaced.
- Check that all electrical boxes are properly aligned and flush with the drywall surface.
- Ensure that all joints and corners are properly taped and mudded, and that there are no visible seams or gaps.
- Check that the drywall is properly finished, with a smooth and even surface.
- Inspect the walls for any signs of moisture or water damage.
By following this checklist, the installer can ensure that the drywall installation is of high quality and meets the required standards. It is important to conduct a final inspection and quality check before proceeding with any further work, as any issues that are discovered at this stage can be addressed and corrected before they become more serious problems.
Frequently Asked Questions
What are the essential steps for installing drywall to a professional standard?
Installing drywall to a professional standard requires a few essential steps. Firstly, you need to measure and cut the drywall panels accurately to fit the walls or ceiling. Then, you need to install the drywall panels by attaching them to the wall studs or ceiling joists. After that, you need to tape the seams between the drywall panels and apply joint compound to cover the tape and create a smooth surface. Finally, you need to sand the joint compound and apply a primer before painting.
How does one accurately estimate the cost of drywall installation?
To accurately estimate the cost of drywall installation, you need to consider several factors, such as the size of the area to be covered, the type and thickness of the drywall panels, the cost of the drywall panels, the cost of the screws, tape, joint compound, primer, and paint, as well as the cost of labour if you hire a professional. You can use an online calculator or consult a professional to get a more accurate estimate.
What are the key considerations when choosing between drywall and plasterboard?
When choosing between drywall and plasterboard, you need to consider several key factors, such as the cost, the ease of installation, the durability, the fire resistance, the sound insulation, and the moisture resistance. Drywall is cheaper, easier to install, and more fire-resistant than plasterboard, but it is less durable and has poor sound insulation and moisture resistance. Plasterboard is more expensive, harder to install, but more durable and has better sound insulation and moisture resistance.
Could you outline the best practices for hanging drywall solo?
Hanging drywall solo can be challenging, but it is possible if you follow some best practices. Firstly, you need to use a drywall lift or a prop to hold the drywall panel in place while you screw it to the wall studs or ceiling joists. Secondly, you need to use a drywall screw gun or a drill with a drywall bit to drive the screws into the drywall panel without breaking the paper surface. Thirdly, you need to cut the drywall panels to size before lifting them into place. Fourthly, you need to work systematically from one end of the room to the other, installing the drywall panels one by one.
What is the recommended orientation for installing drywall panels?
The recommended orientation for installing drywall panels is to install them horizontally on the walls and vertically on the ceiling. This orientation helps to minimize the number of joints and seams, which reduces the amount of taping and joint compound required.
What are five critical tips for beginners attempting to hang drywall?
Five critical tips for beginners attempting to hang drywall are:
- Measure and cut the drywall panels accurately to fit the walls or ceiling.
- Use a drywall lift or a prop to hold the drywall panel in place while you screw it to the wall studs or ceiling joists.
- Use a drywall screw gun or a drill with a drywall bit to drive the screws into the drywall panel without breaking the paper surface.
- Tape the seams between the drywall panels and apply joint compound to cover the tape and create a smooth surface.
- Sand the joint compound and apply a primer before painting.